How Can We Help?
Getting started with Cloud-RF
This guide will help you get started quickly on the Cloud-RF platform.
- Creating an Account
- Your Account Controls
- Web Interface First Look
- Your First Calculation
- Basic Cloud-RF Controls
- Saving Your Work
Creating an Account
Before you can begin using the Cloud-RF interface, you will need to create a Cloud-RF account. Click “Register” to create an account from the home page.
You will be asked to enter a username, email address, and a password. There may be a quiz to prove you’re human too. If you don’t know the answer Google is your friend. Once you register, an email will be sent to you with a link you must click in order to activate your account.
Your Account Controls
Once you are inside your account, you will see a dashboard like the one below. Take special note of the Buy a plan link [1] that lets you upgrade your account to access all the features. The Web interface link [2] is how you will access the CloudRF Modeling tool itself right in your web browser. You can see your API key [3] and your current subscription plan [4] here as well.
Again, if this is your first time using CloudRF you will need to click on the Edit tab down below [5] to access the page that lets you change your password, contact preference, and time zone settings. If at any time you need to reach our support team, this support link [6] will let you submit a support ticket:
Web interface
Once you click on the Web Interface button, you’ll be taken to the 3D Web interface. There are four major interface sections we’ll highlight and expound upon.
First, on the left side, you will find your controls. These controls let you define the transmitter and antenna characteristics, the receiver settings, your mapping model, and output formats. Each can be clicked to expand the selection for accessing the controls.
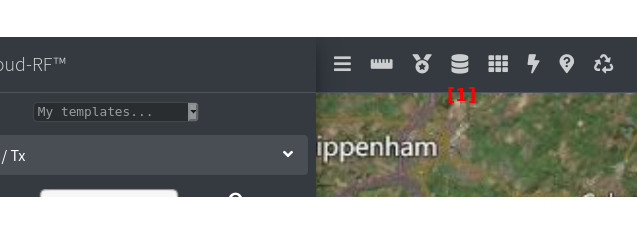
At the top [1] are a set of powerful analysis tools and templates including a Path Profile Analysis, Best Server Analysis, your Calculation Archive, Mesh Coverage, Interference Analysis and Best Site Analysis. Clicking once on the respective tool’s button will open it, and clicking on it a second time will collapse that tool. You will also be able to clear all calculations from the map here.
Finally, on the right edge, you will see the color schema currently in use [4]. This color scheme is fully customisable.
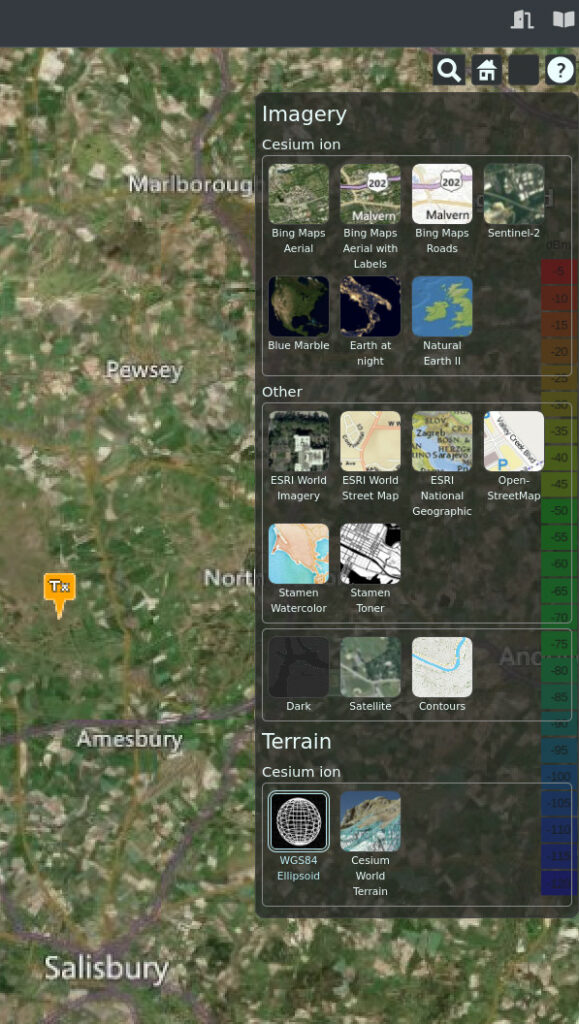
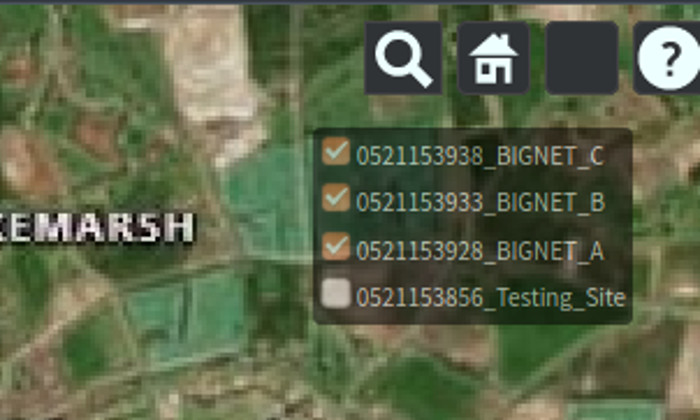
Hovering over the map icon in the top right corner will let you select mapping. This is also the location where your list of current network layers will be shown:
Your first calculation
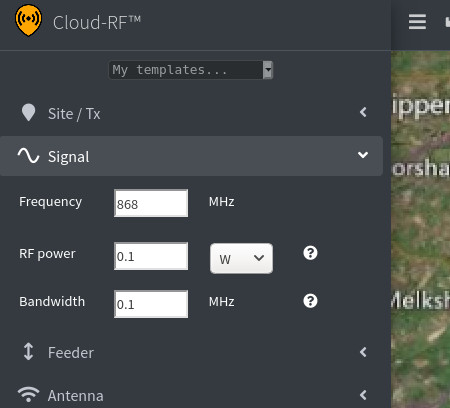
Click anywhere on the map to place your first transmitter marker. Then click on the “Signal” section in the top left corner to expand those controls. Let’s change the frequency to 868 MHz and the RF Power to 0.1 Watts.
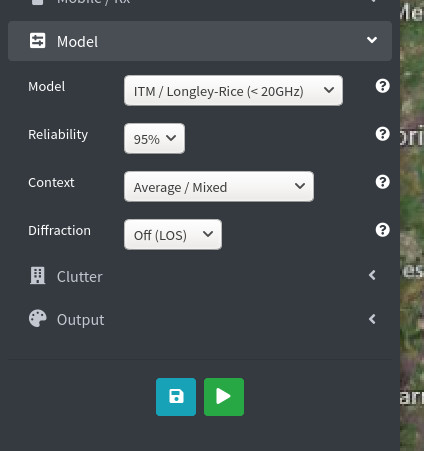
We’ll skip the Antenna and Receiver sections for this demonstration, but you can feel free to take a peek at them. Next, you’ll want to expand the Model section [1] and select a propagation model [2]. For our purposes, let’s go with the Irregular Terrain Model. When you are done, click on the green ‘Play’ button below. Wait just a few seconds and you will see a new colored layer on the map [5] that shows which areas have the db coverage as indicated by the color schema on the right:
Every time you perform a Calculation, the results are saved in your archive for future reference and the site will be saved on the map as a small tower symbol. You can manage (select / deselect) site locations by clicking on the layer icon in the top right corner. You’ll see your site options just below the Satellite / Terrain / Dark options:
Basic controls
Clicking and dragging the map works just like any other modern mapping software, along with zooming and the full-screen option. Any time you click once on the map, the transmitter location icon will be relocated to that position. Moving the transmitter icon won’t erase any previous calculations performed and if you look carefully on the map, you can see a small dark grey tower icon at the center of each calculation performed on the current RF layer.
Remember, you can click on the Clear All button at the top to remove all calculations from the map. Doing so will not remove them from your Calculation Archive.
Saving work
Immediately after performing a calculation [1] and before relocating the transmitter icon, you’ll have the option to download the calculation in KMZ, SHP, TIFF, URL, and HTML formats [2]. This is handy for sharing calculation results with others.
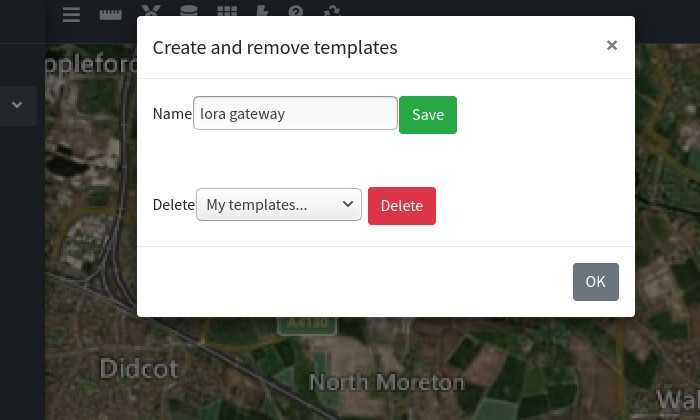
The Save button with a disk icon [3] isn’t for saving calculation results, rather it is used to store your current radio transmitter settings as a template within the Cloud-RF platform itself. When you click the Save button, you’ll be asked to name your template [4]. There is no limit to the number of radio templates you can create within your Cloud-RF account:
And as always, if you have any comments or questions please reach out to us at support@cloudrf.com.


