We have a free Blender plugin too!
You can download it over at extensions.blender.org
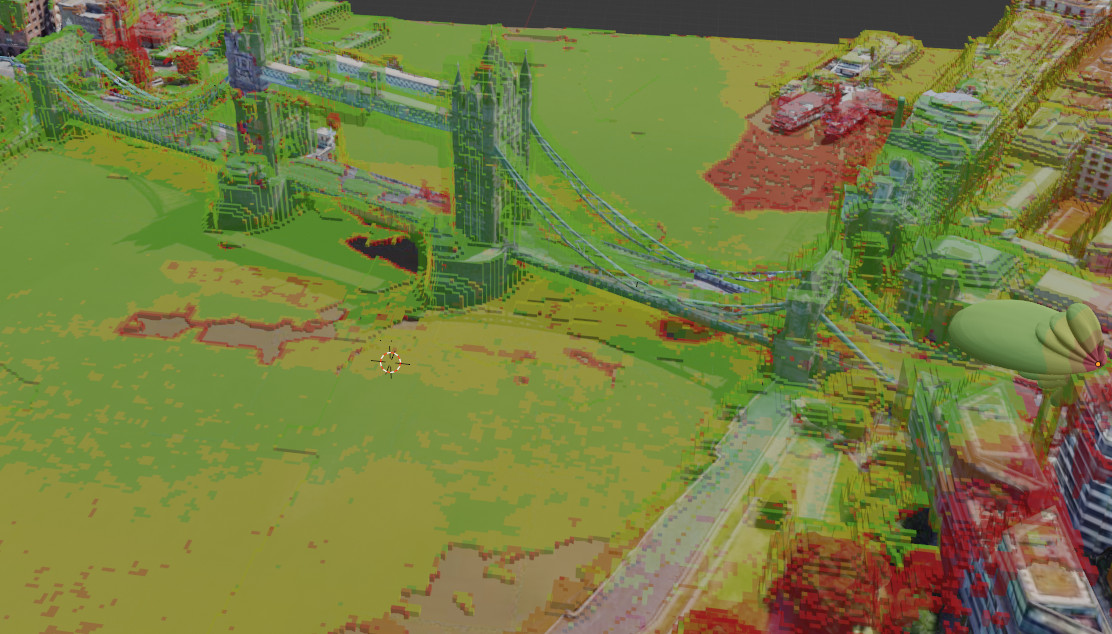
3D radio simulation in Blender
NOTE: Requires a premium CloudRF account
Interface to the 3D simulation API at CloudRF.com. This powerful full 3D API supports configurable radios and antennas as well as the following features:
- Reflections
- Material attenuation
- Material diffusion
- 10cm resolution
API reference
https://cloudrf.com/documentation/developer/#/3D
Command line Hello World!
A command line API demo for this API is available on Github:
https://github.com/Cloud-RF/CloudRF-API-clients/tree/master/bash/3d

Overview
It POSTs a blender scene to the model upload API, then POSTs a JSON request containing radio settings to the 3D API.
Results are loaded upon the scene as a GLB file.
How to install
- Install the plugin by selecting “Edit” > “Preferences” > “Add-ons”. Then click on the button to “Install…”. Locate the Python script.
- It will show “Import-Export: CloudRF”. Check the box to enable it.
- Close the “Blender Preferences” window.
How to use
This works best with simple meshes but can work with complex meshes like Google photorealistic models sourced via the BLOSM plugin. The more complex the mesh, the longer it takes.
Extreme models eg. London at 10cm, are reduced automatically at the API to fit inside a Megavoxel limit linked to your plan. The silver plan is 10MP at the time of writing.
Add a transmitter
- Add transmitters to your environment from the “Layout” display by clicking on “Add” at the top of the screen, then hover over “Transmitters” and choose a 2.2GHz template radio.
- To move a transmitter, use Blender’s Move tool from the top left toolbox. This will show colour coded X/Y/Z planes which you can drag to move the transmitter in three dimensions.
- Transmitter Properties like power, antenna gain etc can be configured in the data tab in the properties area, located in the bottom right of the screen
Simulating RF coverage
- On your keyboard press the “N” button to pull out a dialogue window from the top right of the screen. To the right of the dialogue window is a tab labelled as “CloudRF”. Click on this.
- Enter your API Key into the “API Key” box.
- Click “Upload model” to send your model to your account. Be patient as this upload could take a while.
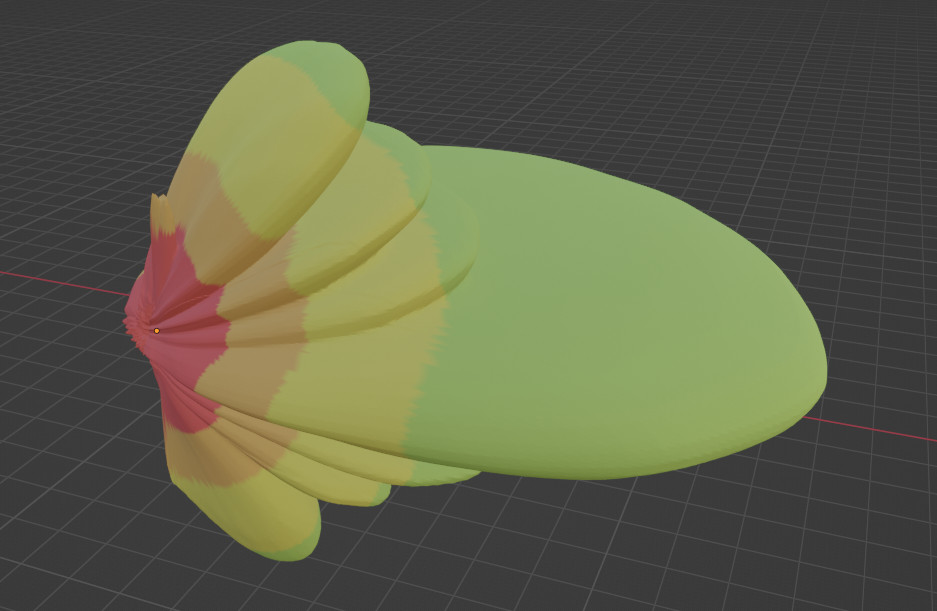
- Click “Simulate” to simulate coverage. A small model takes seconds and a large model can take several minutes.
- Your result will be automatically displayed in the viewer.
- Watch the “Blender Info Log” for any errors or information. These will display at the bottom of your screen when they occur. For example “Calculation already in progress, please wait”
NOTE: This is resource intensive so your account can only run one job at a time. You will need to wait if a job is still in process.
Importing radio templates
- Obtain a JSON template with your desired radio settings. Examples can be found (here)[https://github.com/Cloud-RF/CloudRF-API-clients/tree/master/templates].
- Under the “CloudRF” panel in the dialogue window, locate the Import Template tab.
- Click the “Browse” button to locate the JSON file location for the template to be loaded from.
- Click “Import”.
- This will add a new transmitter template to the add transmitters menu.
Contribute
Plugin is open source on Github: https://github.com/Cloud-RF/CloudRF-API-clients/tree/master/integrations/blender
You can download the plugin at extensions.blender.org
The plugin source is also available on our Github.