


Phase Tracing Interface
The Phase Tracing interface is for simulating multipath RF propagation in complex, three-dimensional environments, and is particularly powerful at modelling environments which include complicated structures such as stairways, tunnels, bridges and towers.
The Phase Tracing interface can be accessed from the /phase-tracing endpoint, for example available on CloudRF at https://cloudrf.com/phase-tracing.
The Phase Tracing interface has been tested to work best in the latest version of Google Chrome. It’s recommended that you use it in this browser, however any browser which supports WebGL technology should be functional.
Interface Elements
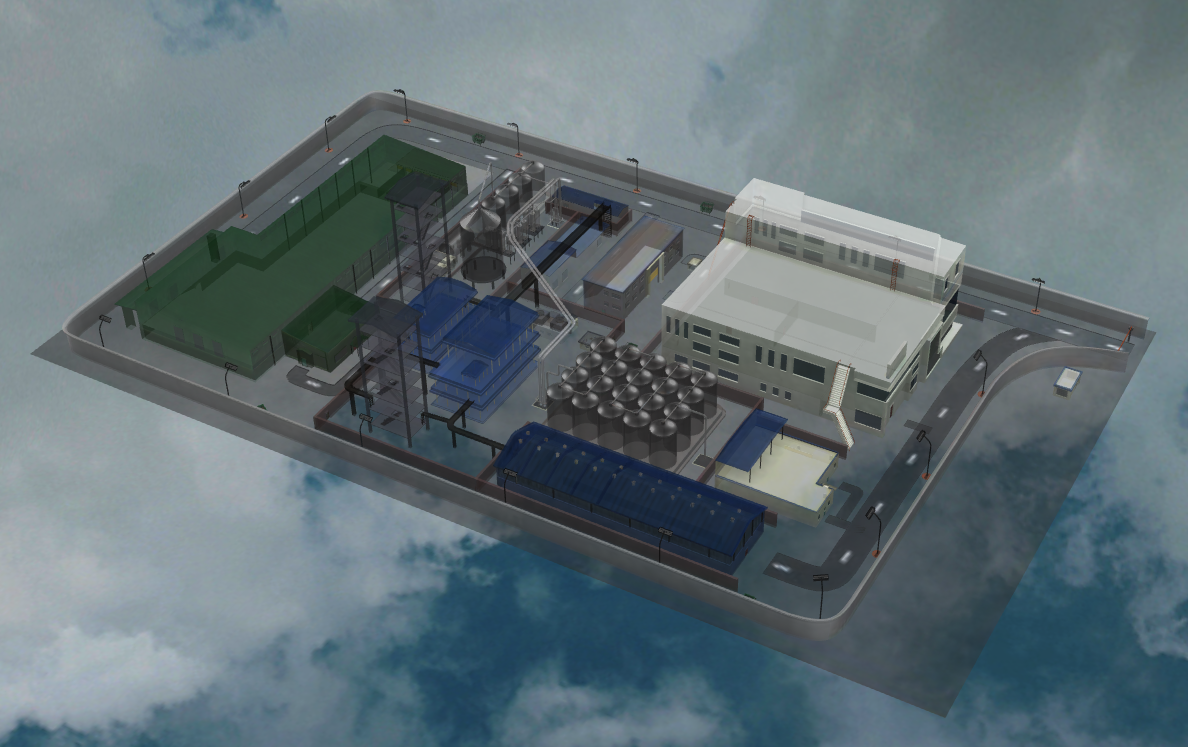
Below shows an overview of the Phase Tracing interface.
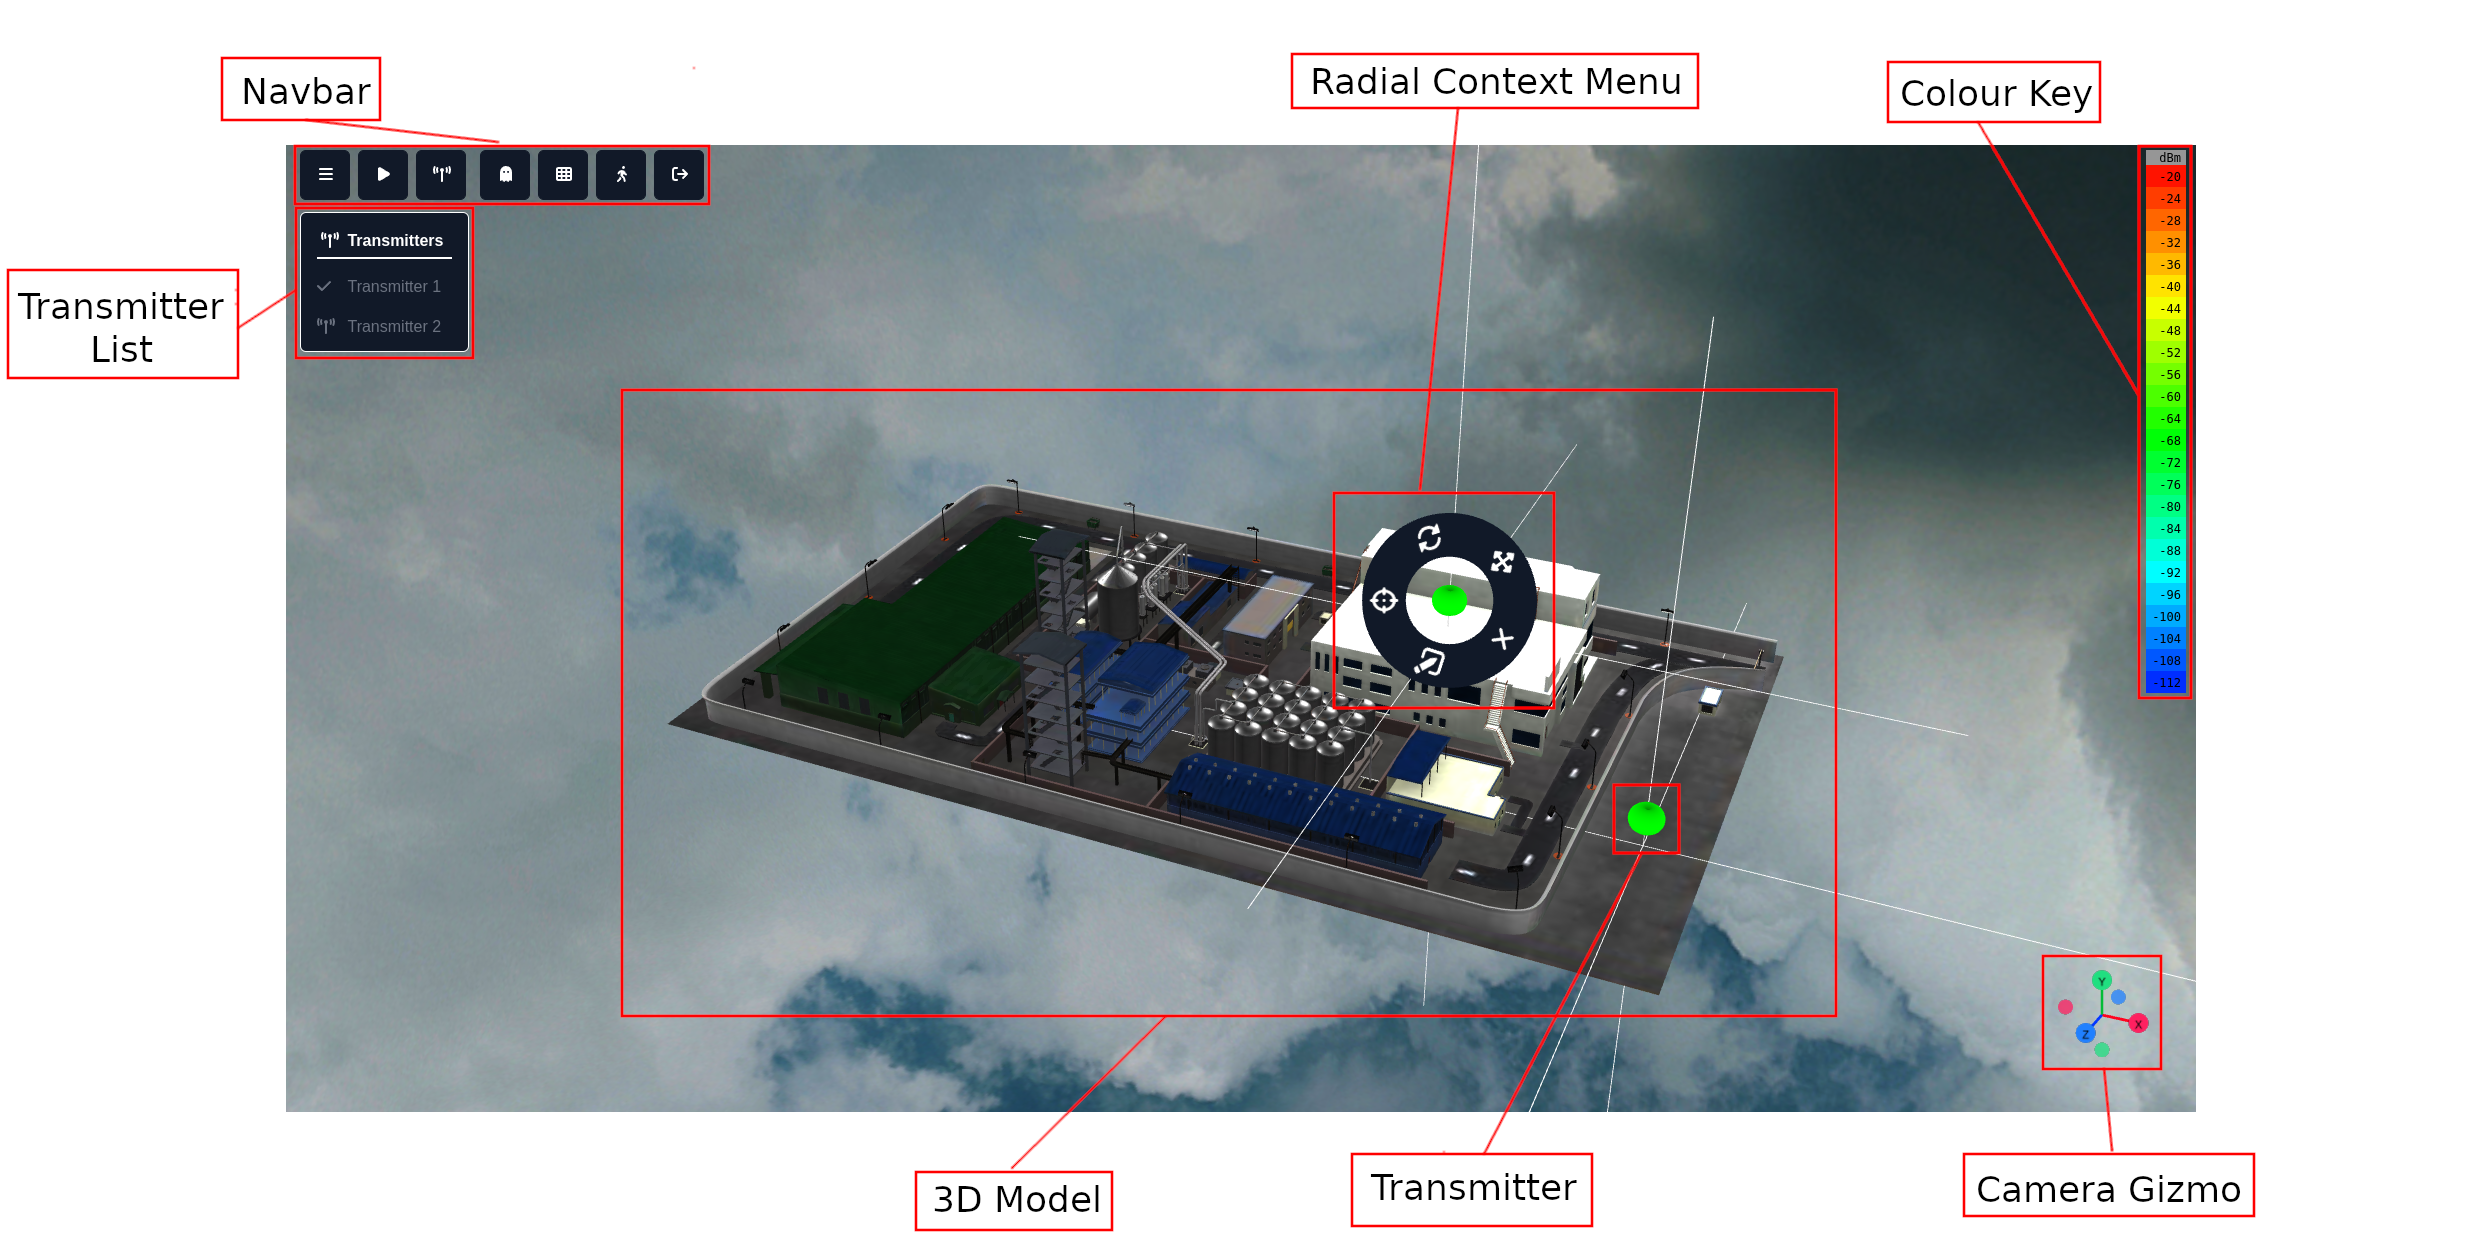
3D Scene
The Phase Tracing interface centers around the 3D scene, where the currently loaded scene model is displayed as seen above.
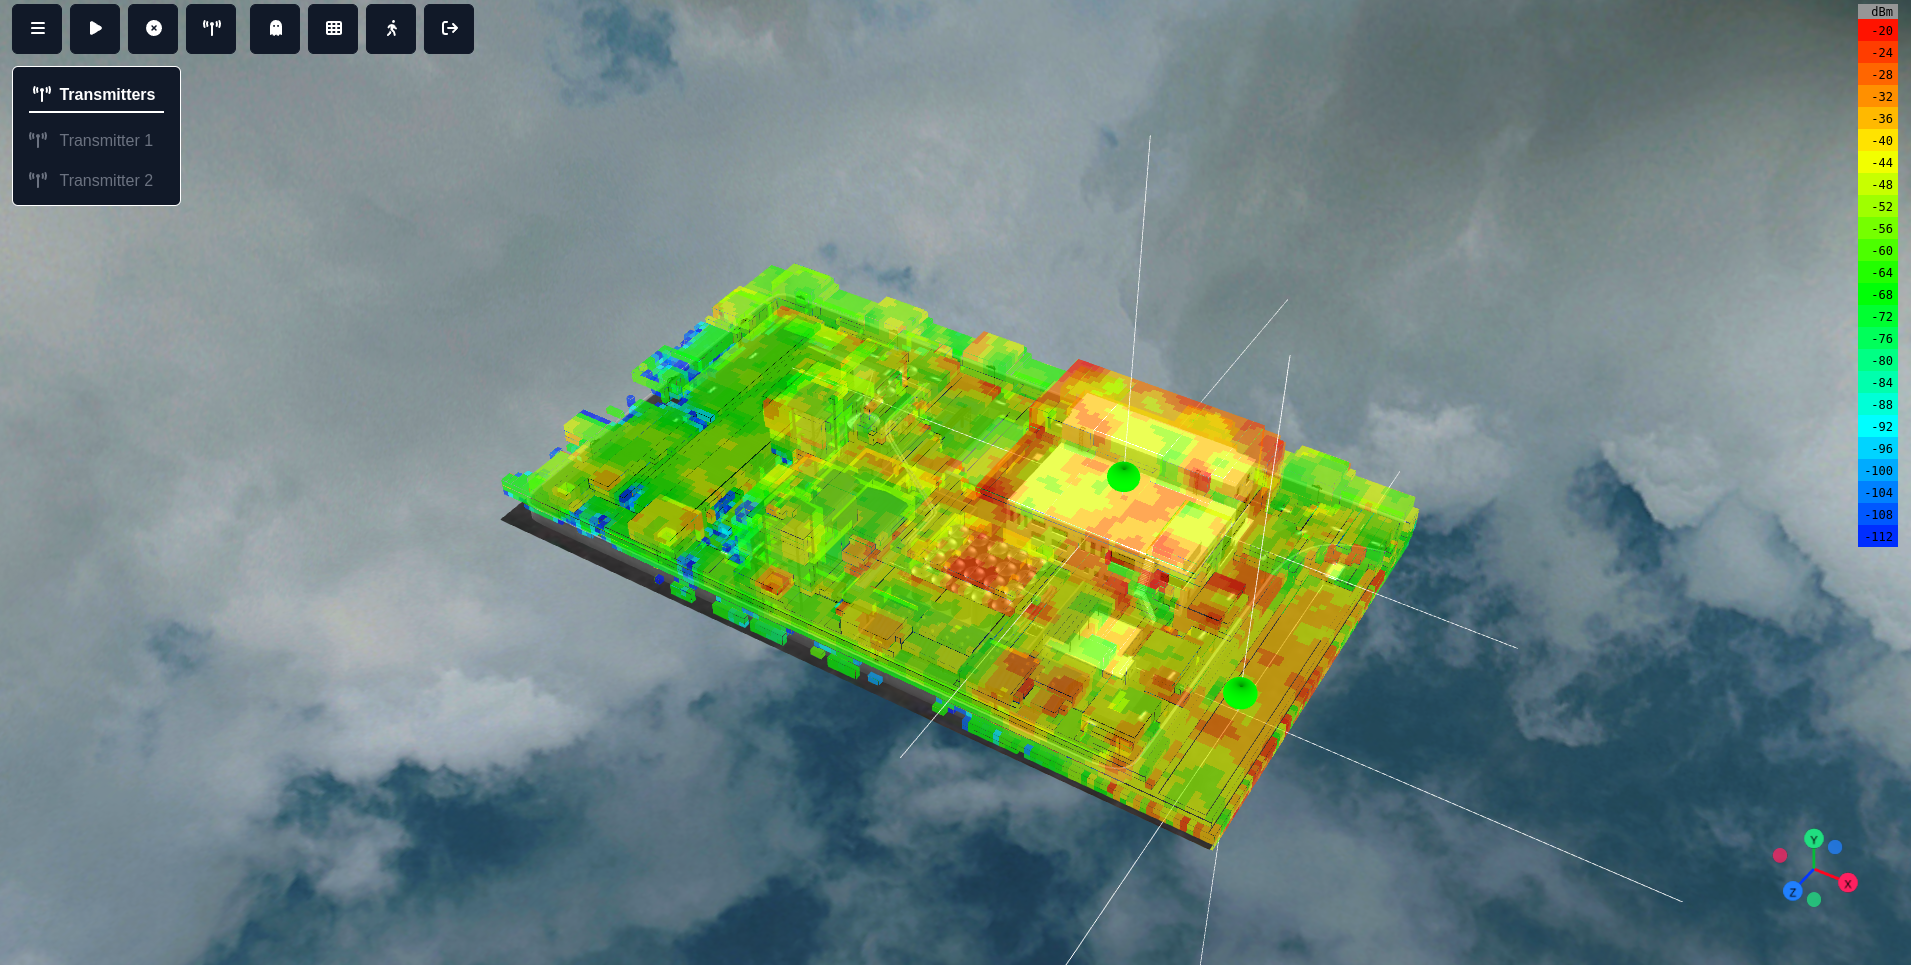
After a calculation, a viewshed model will be shown over the scene model. The viewshed model consists of coloured voxels, where the colour corresponds to the received power (dBm) inside that voxel.
The 3D scene also includes the transmitters, displayed as a 3D antenna pattern. The pattern will change shape when the antenna pattern is changed using the transmitter settings modal.
A transmitter can be selected by clicking on the pattern, which brings up the radial context menu.
To deselect a transmitter, click the scene model when no tool is active, which is indicated by no active buttons in the navbar.
Camera Controls
To rotate the camera:
If using a desktop with a mouse you can click and drag with the left mouse button.
If you are using a touch-screen device you can move the camera with a single finger and dragging your finger across the screen.
To pan the camera:
If using a desktop with a mouse you can click and drag with the right mouse button.
If you are using a touch-screen device you can move the camera with two fingers and dragging your fingers across the screen.
Panning the camer will also move the pivot point for where the camera rotation is made from.
To zoom the camer:
If using a desktop with a mouse you can either scroll with the mouse wheel, or hold the mouse wheel and move the mouse forwards and backwards to zoom.
If you are using a touch-screen device you can zoom the camera by using two fingers and pinching them together, or moving them apart apart to zoom.
In the bottom right of the screen there is a camera gizmo which can also help with quickly moving the camera to pre-set positions. You can click opn one of the colour balls to quickly manipulate the scene to move to that position.
If you wish to reset you view of the scene, this can be done by clicking on the “Reset Camera” item within the menu.
If you have transmitters within your scene, you can select a particular transmitter from the transmitter list to quickly jump to that transmitter.
There is also a walking mode which can be used to interact with the scene in a first-person view where you can walk around the model. This can be toggled on and off.
Navbar
The navbar runs along the top of the screen and contains the majority of the tools which are used to interact with the Phase Tracing interface.
 Toggle Menu
The Toggle Menu button collapses and expands the dropdown menu.
 Start Calculation
Press this button to start a calculation. While processing, the button shows a spinlock  and another calculation cannot be started.
Once the calculation is finished, the resulting viewshed will be shown over the input model.
 Clear Viewshed
This button can be clicked to clear any previously calculated viewsheds from the scene.
 Add Transmitter
While this button is active, clicking on the model will add a transmitter.
When clicking the transmitter will be placed on the first available surface from your current view.
 Transparency/See-Through Mode
While this button is active, it will be possible to see through walls/floors.
This is useful for dense buildings with many floors, such as a tower-block.
 Wireframe Mode
While this button is active, the mesh will be rendered as wireframe.

 Walk Mode
Walk mode provides alternative camera controls to the default ones described in the camera controls section.
In walk mode, you can click on the scene to teleport the camera there.
The camera can still be rotated using the left mouse button and you can still zoom with the scroll wheel/middle button, but it cannot be panned. Instead, you can move around the scene with the arrow keys.
 Log Out
Press this button to log out of the interface.
Dropdown Menu
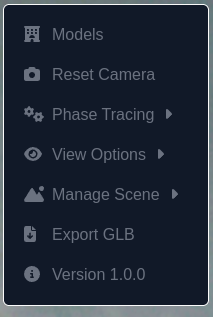
Models
Press “Models” to open the model manager:
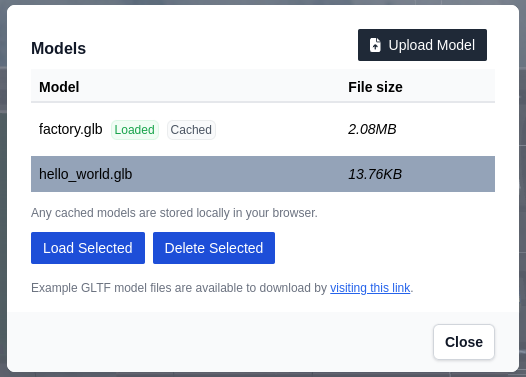
The model manager shows a list of models you have uploaded to your account.
You can load or delete each model.
The model currently in the interface is marked with a green “Loaded” tag, and the currently cached model is marked with a grey “Cached” tag. This model will load quickly when the interface is next opened. Cached models are stored within your local browser.
The “Upload Model” button can be pressed to open the model upload modal:
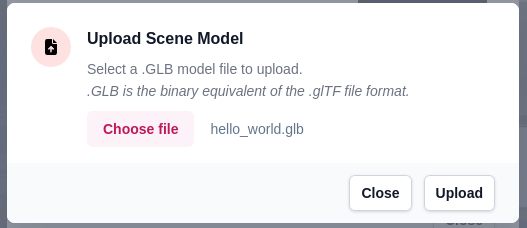
When the button is pressed, the model will be uploaded to your account and loaded in the interface. This can take some time depending on the size of the model you are uploading and your connection speed to the Phase Tracing API.
Reset Camera
Pressing the “Reset Camera” item in the menu will move the camera such that it frames the whole model.
If your model is dimensionally large (thousands of meters), the camera will be too far away so you will need to zoom in to see the model.
Phase Tracing
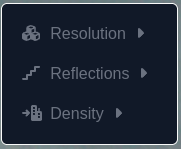
The “Phase Tracing” menu allows you to configure calculation settings for the scene:
Resolution
Maximum number of reflections
Material density
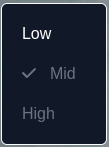
Each can be set to one of three, preset values which are calculated dynamically based upon your input model:
Low
Medium
High
Resolution configures the size of the output voxels. A higher resolution will include more detail but calculations take more time to compute.
Reflections configures the maximum number of collisions that are simulated during a calculation.
Density configures the amount of power lost when a photon moves through a material within the input model.
View Options
The “View Options” item contains settings that are related to how the scene is rendered, and have no effect on calculations.
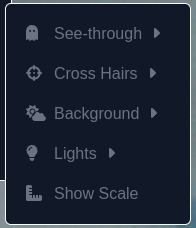
See-Through
The “See-Through” menu configures which of the walls and/or floors are transparent when the “Transparency/See-Through” mode is on.
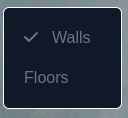
Whether or not a part of the model is considered “wall” or “floor” is detected by looking at the direction it faces.
Cross Hairs
The “Cross Hairs” menu can be used to enable/toggle the white cross-hairs that indicate the position of each transmitter.
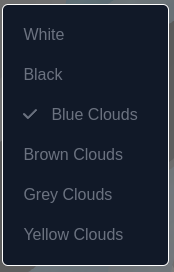
Background
The “Background” menu allows you to select a background for the scene. Options include solid colour ‘White’ and ‘Black’ as well as skybox images.
Lights
The “Lights” menu allows you to configure the scene lighting. This can be useful where the default lighting may not be suitable for your particular model.
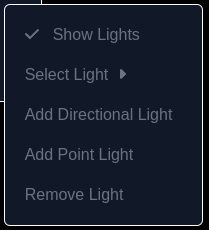
With “Show Lights” enabled, lights are shown as orbs in the 3D scene. They can be selected by clicking on them, or in the Select Light menu.
When a light is selected:
It can be moved by clicking and dragging the arrows that appear on it.
It can be deleted by clicking Remove Light in the Lights menu.
Its intensity can be changed using a slider that appears at the bottom of the screen.
Lights can also be added to the scene from the Lights menu. There are two supported types of light:
Point lights emit light from a point in space and are controlled by moving that point.
Directional lights emit light all over the scene, but in a direction defined by the vector from one point to another, both of which can be moved in the scene.
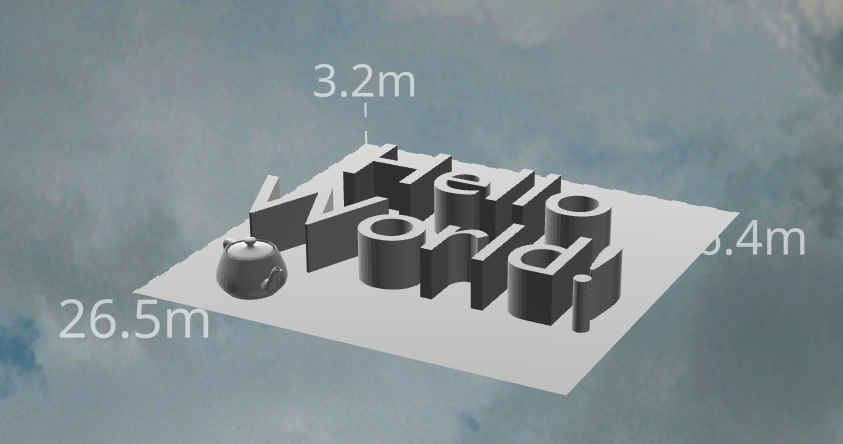
Show/Hide Scale
The “Show/Hide Scale” button can be used to toggle rulers that display the size of the scene model in each dimension.
The rulers are enabled by default to ensure that you check that the dimensions of your model are correct.
Manage Scene
The “Manage Scene” menu allows you to save and load your work, or to export as a file and move your work to another machine.
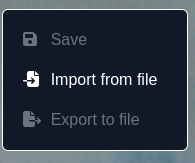
The save button will save the scene to your browser’s local storage, and next time you open the interface the saved scene will be loaded automatically. Please note that because this is saved to local storage this will not be accessible if you log in from another browser. If you wish to move your work between browsers or devices then you should export and import your work, as detailed below.
To move scenes between browsers/computers, you can export the scene to a JSON file and similarly import a scene JSON file.
For details on what is saved, see the scene format section.
Export GLB Button
The “Export GLB” option brings up the export GLB modal.
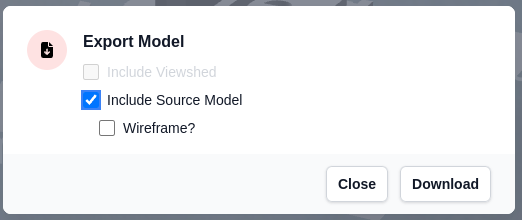
This modal can be used to export a model including the viewshed (if present) and/or the source model. The source model can be exported as a wireframe if desired, to make the viewshed easier to see.
Version Number
Clicking the version number brings up the changelog for the Phase Tracing interface.
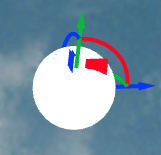
Radial Context Menu
When a transmitter is selected, the radial context menu is displayed around it.
Edit Button

Pressing the edit button brings up the transmitter settings modal.
Transmitter Settings Modal
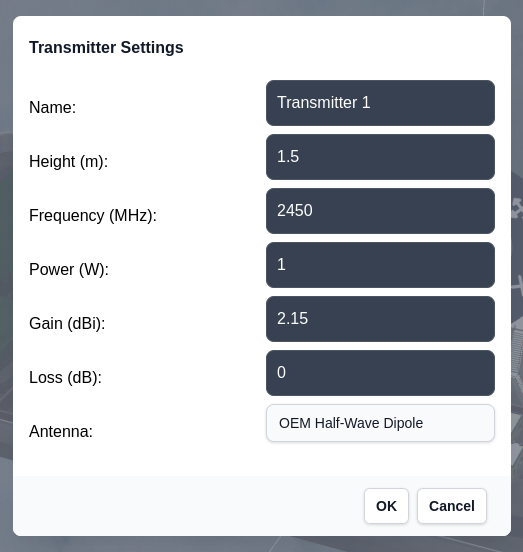
The transmitter settings modal can be used to edit the following settings:
Name
Height (m)
Frequency (MHz)
Power (W)
Gain (dBi)
Loss (dB)
Antenna pattern
Note that the height is defined as above the ground point, which is where the transmitter’s crosshair is centered.
Move

When the move tool is active, left clicking on another location within the model will move the selected transmitter’s ground point to that location.
Aim

When the aim tool is active, left click on the model will rotate the transmitter such that it points in that direction of where you click.
Rotate

When the rotate tool is active, the transmitter can be rotated by dragging the line that appears. This allows aiming the transmitter into free-space where there is no model to click.
Delete

Clicking the delete button will delete the transmitter.
Transmitter List
When the dropdown menu is not open, the transmitter list will be displayed.
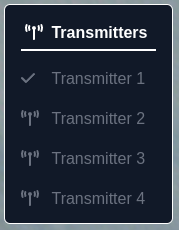
The currently selected transmitter is marked with a tick, and transmitters can be selected by clicking their name on the menu.
Clicking a selected transmitter moves the camera to focus on that transmitter.
Input Model Format
Phase Tracing is performed on glTF 2.0 models, an extendable open standard file format for describing 3D scenes and models.
The model files must be binary .glb files, where all the data is containing inside the file, whereas the JSON .gltf files reference external .bin files.
The glTF file format is extensible, with extensions divided into two groups: required and used. If a required extension is not in the following list the API is unlikely to work with the model:
KHR_draco_mesh_compression
The third party glTF Report can be used to preview and validate a glTF model, and to see the required extensions.
Calculation Speed
The level of detail in a model does not effect the calculation speed, except that larger files take longer to load.
To get a faster calculation, use a lower resolution. Doubling the resolution increases the calculation difficulty by a factor of eight.
The API has a 30 second timeout so if a calculation takes longer than 30 seconds you will not receive the result. The first calculation after changing the model or resolution will be slower than subsequent as the model needs to be re-processed. The Phase Tracing API will cache your previous model to allow for subsequent calculations to be more performant.
Scene Format
Scenes are stored as JSON. They contain:
The name of the model
Transmitter settings
Calculation settings
Background + lighting configuration
An example scene JSON follows:
{
    "modelName": "hello_world.glb",
    "backgroundType": "sky-box",
    "backgroundColor": "blue",
    "transmitters": [
        {
            "id": "Transmitter 1",
            "x": 10.0897452365192,
            "y": 0,
            "z": -7.5563530828073855,
            "rotationX": 0,
            "rotationY": 0,
            "rotationZ": 0,
            "height": 1.5,
            "antennaPatternId": 1,
            "r": 0,
            "g": 255,
            "b": 0,
            "frequency": 2450,
            "power": 1,
            "gain": 2.15,
            "loss": 0
        },
        {
            "id": "Transmitter 2",
            "x": 2.883337910636127,
            "y": 0,
            "z": 11.044576366827863,
            "rotationX": 0,
            "rotationY": 0,
            "rotationZ": 0,
            "height": 1.5,
            "antennaPatternId": 1,
            "r": 0,
            "g": 255,
            "b": 0,
            "frequency": 2450,
            "power": 1,
            "gain": 2.15,
            "loss": 0
        }
    ],
    "lights": [
        {
            "id": "Northern spotlight",
            "type": "directional",
            "enabled": true,
            "intensity": 2.2,
            "position": {
                "x": 0,
                "y": 50,
                "z": -100
            },
            "target": {
                "x": 0,
                "y": 0,
                "z": 0
            }
        },
        {
            "id": "Eastern spotlight",
            "type": "directional",
            "enabled": true,
            "intensity": 3,
            "position": {
                "x": -100,
                "y": 49.749654418312204,
                "z": -0.7387491921762099
            },
            "target": {
                "x": 0,
                "y": 0,
                "z": 0
            }
        },
        {
            "id": "Southern spotlight",
            "type": "directional",
            "enabled": true,
            "intensity": 2.2,
            "position": {
                "x": 0,
                "y": 50,
                "z": 100
            },
            "target": {
                "x": 0,
                "y": 0,
                "z": 0
            }
        },
        {
            "id": "Western spotlight",
            "type": "directional",
            "enabled": true,
            "intensity": 2.2,
            "position": {
                "x": 100,
                "y": 50,
                "z": 0
            },
            "target": {
                "x": -0.011472404568427241,
                "y": 0,
                "z": 0.002287903721230944
            }
        },
        {
            "id": "Subsurface light",
            "type": "directional",
            "enabled": true,
            "intensity": 1,
            "position": {
                "x": 0,
                "y": -100,
                "z": 0
            },
            "target": {
                "x": 0,
                "y": 0,
                "z": 0
            }
        }
    ],
    "settings": {
        "resolutionMode": "MidResolution",
        "reflectionsMode": "MidReflections",
        "densityMode": "MidDensity"
    }
}