Quickstart
PNUT 101: Using templates to quickly create a network.
1. Sign In
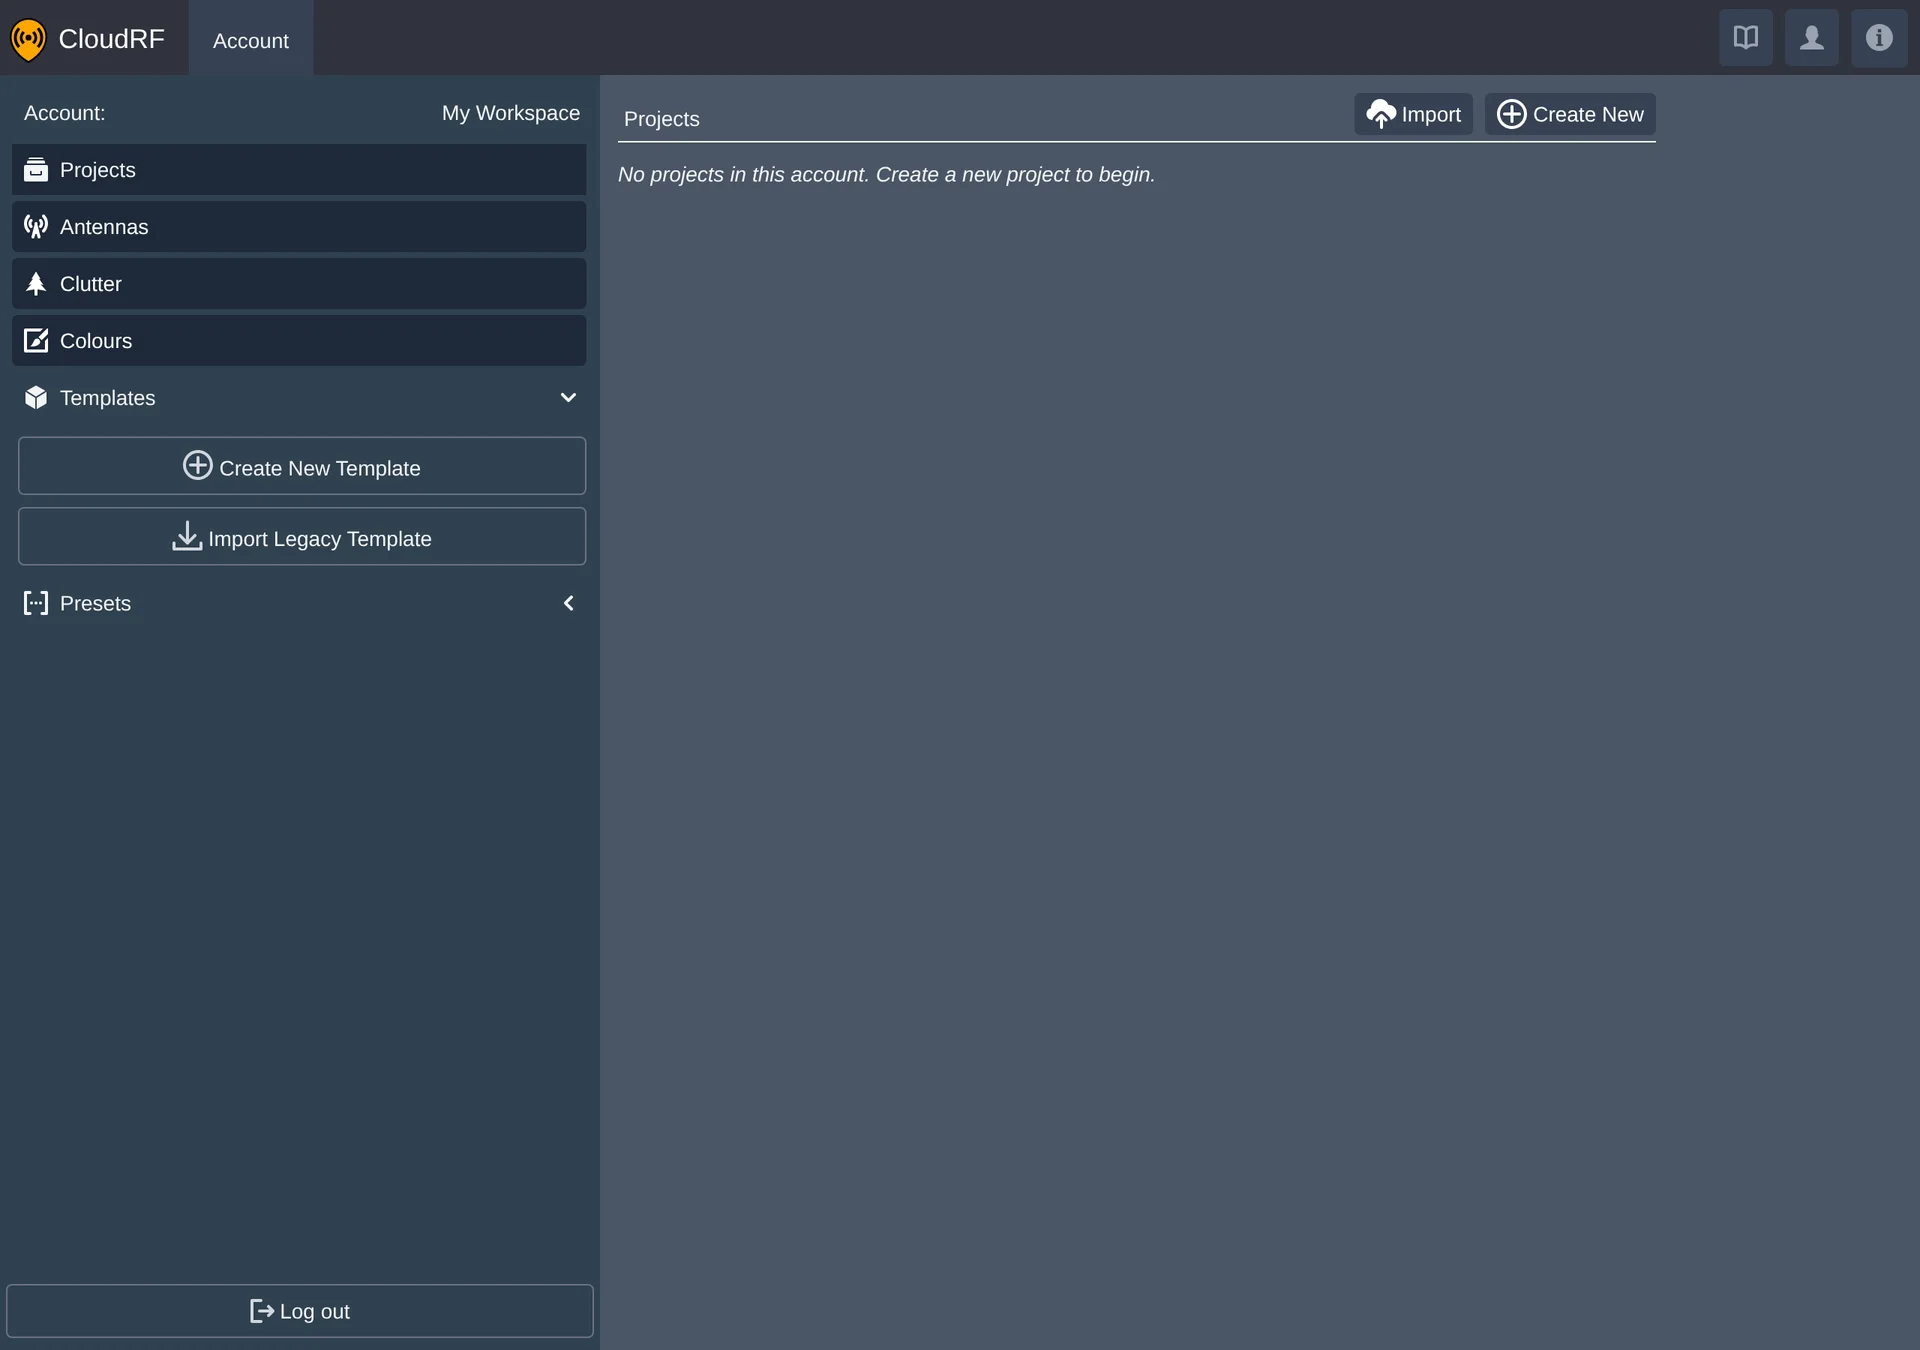
Signing in lands you on your account page. Note that PNUT requires a premium CloudRF plan or a private server.
2. Import Templates
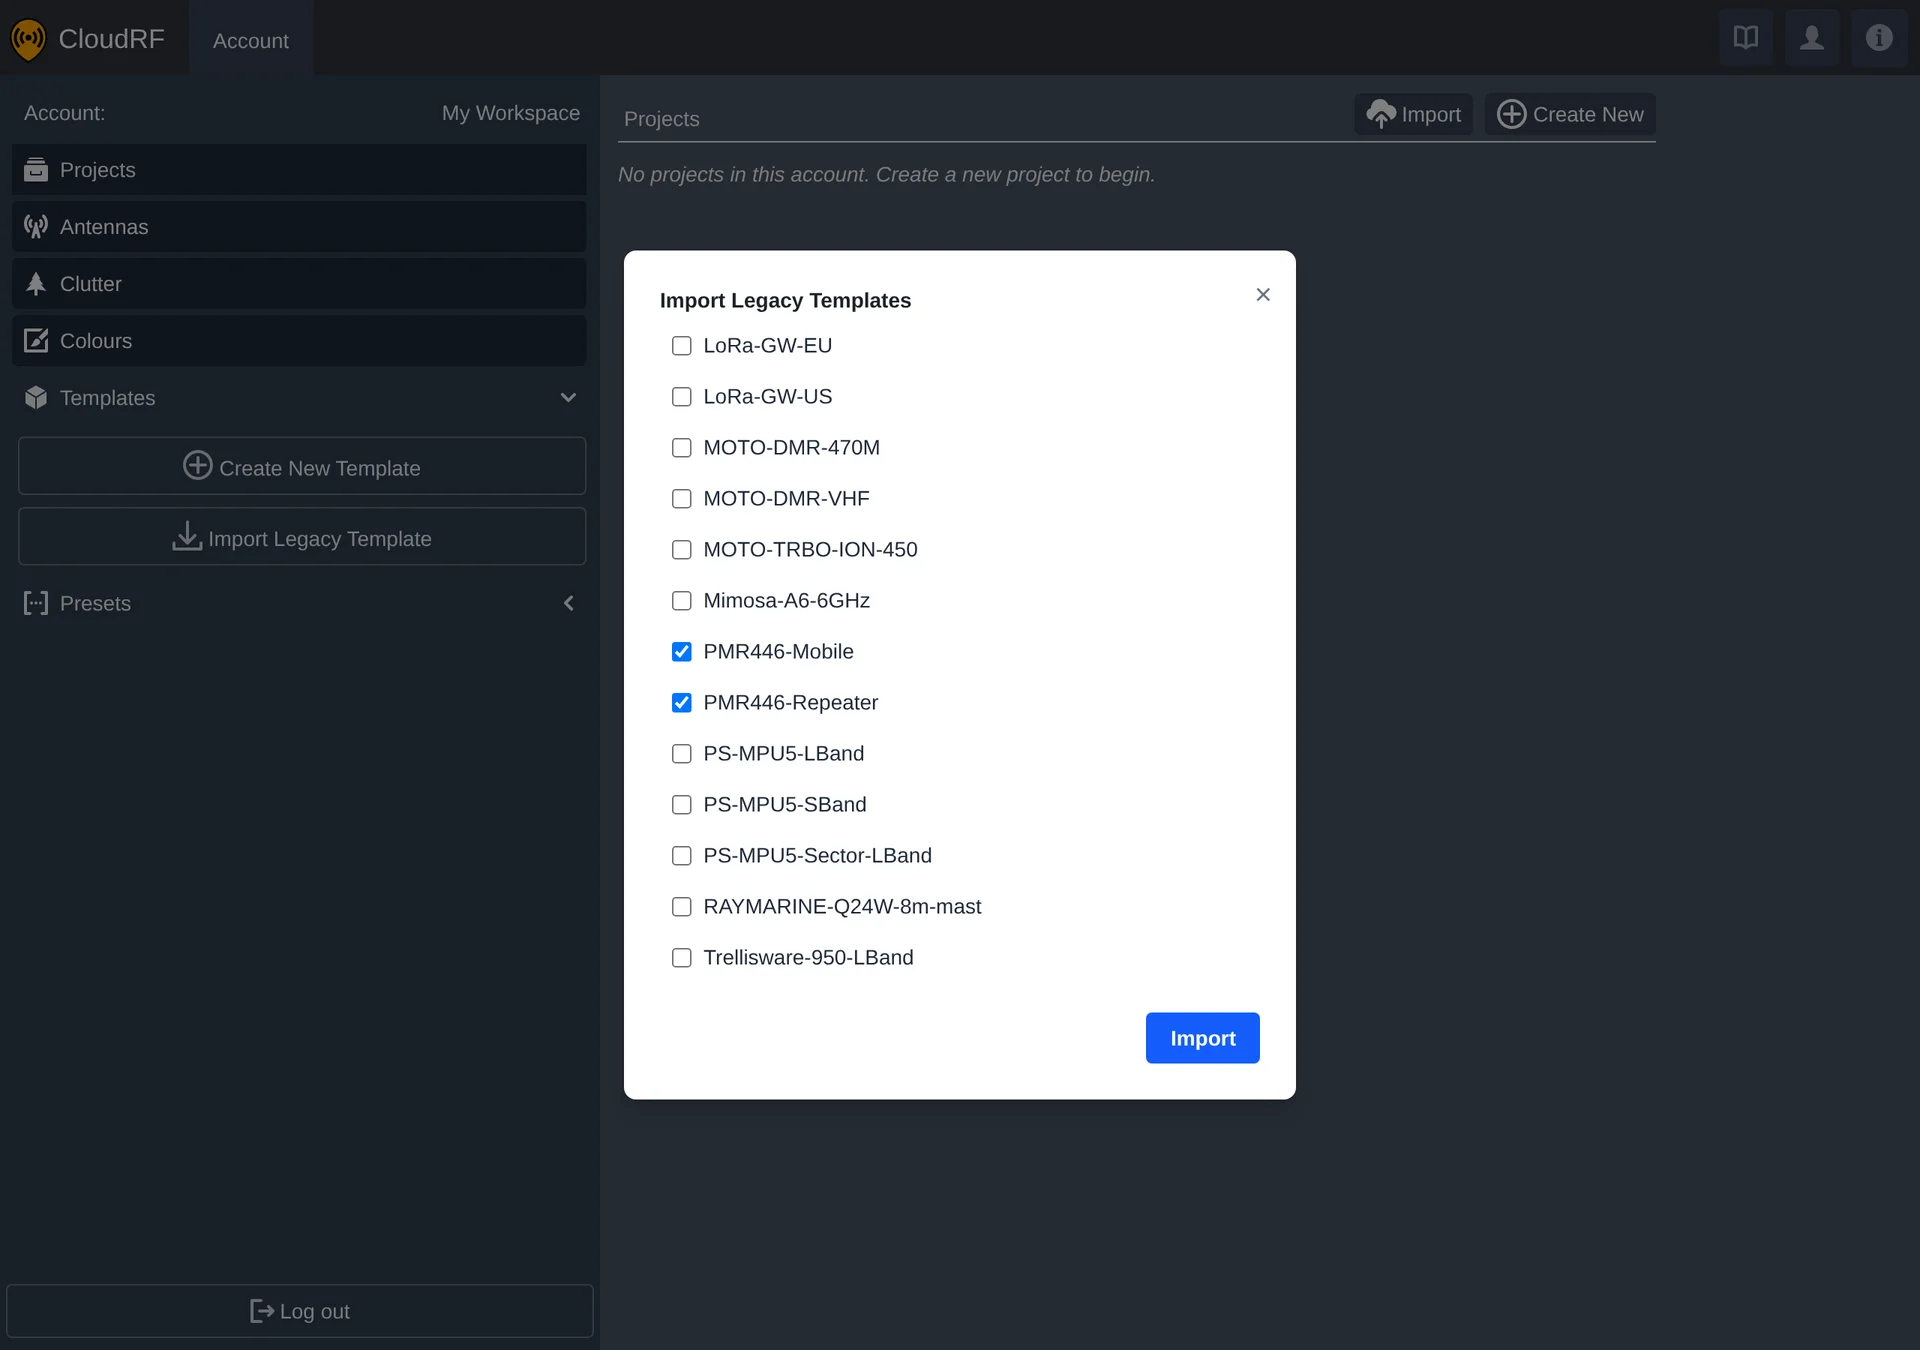
Templates save you rebuilding the same radio setup by hand every time. From your account's
Templates section, import two legacy templates to work with: PMR446-Mobile and
PMR446-Repeater.
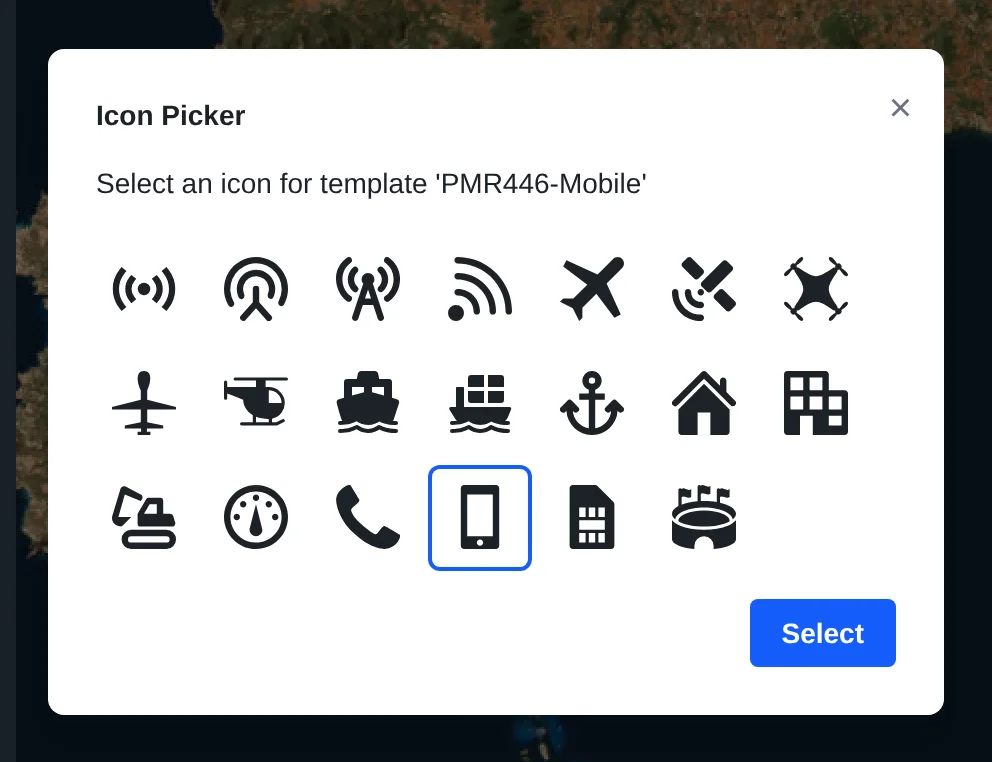
Give each template a distinct icon so they're easy to tell apart at a glance once they're on a map. Do this by clicking on the icon for each template in the list.
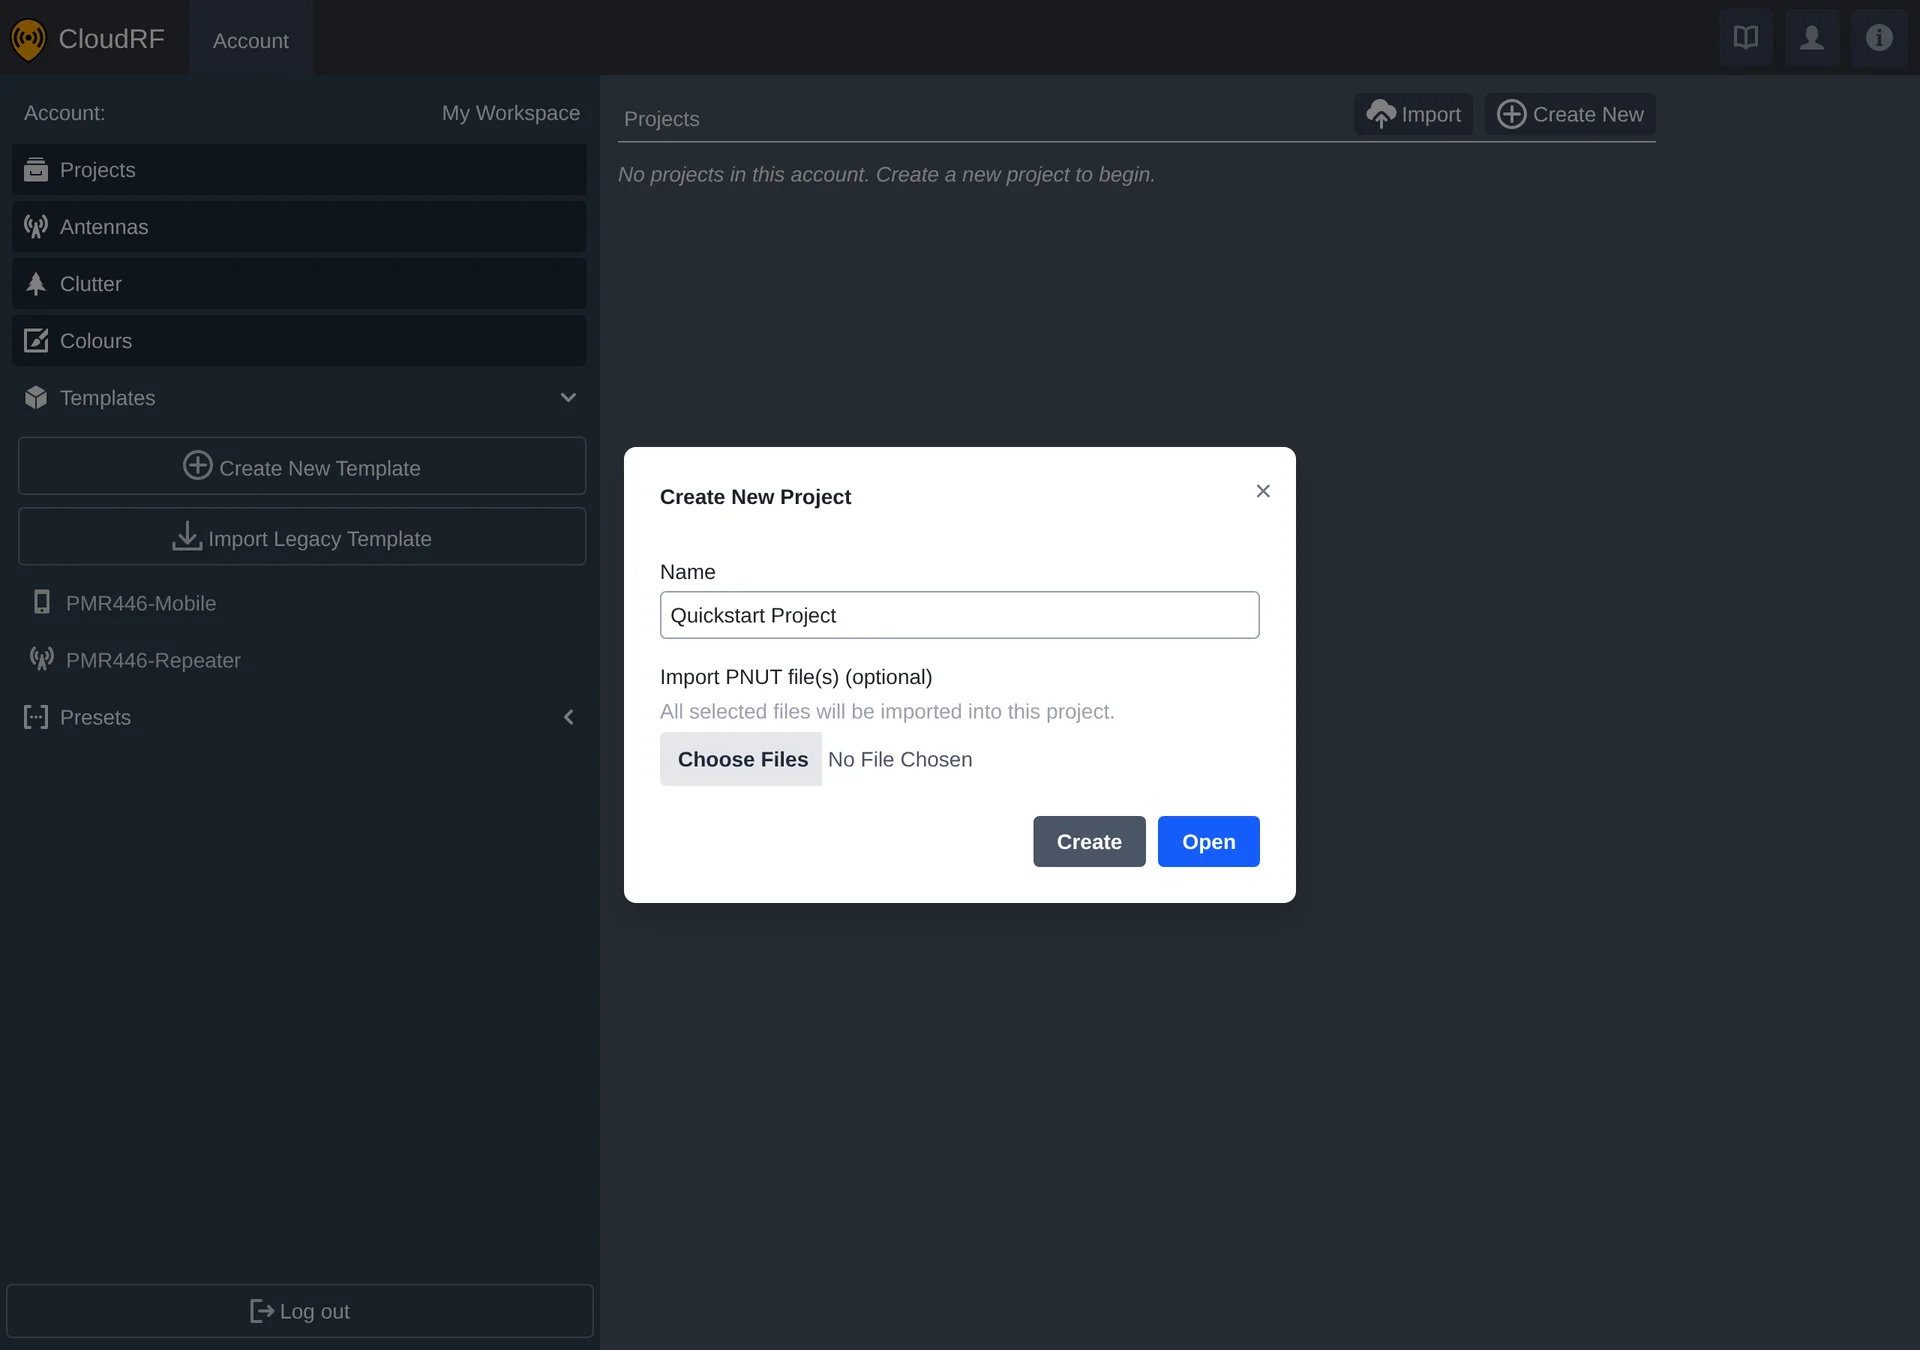
Templates are stored on your account, not inside any one project - every project you create from now on can draw on them.
3. Create a Project
Create a new project and give it a sensible name.
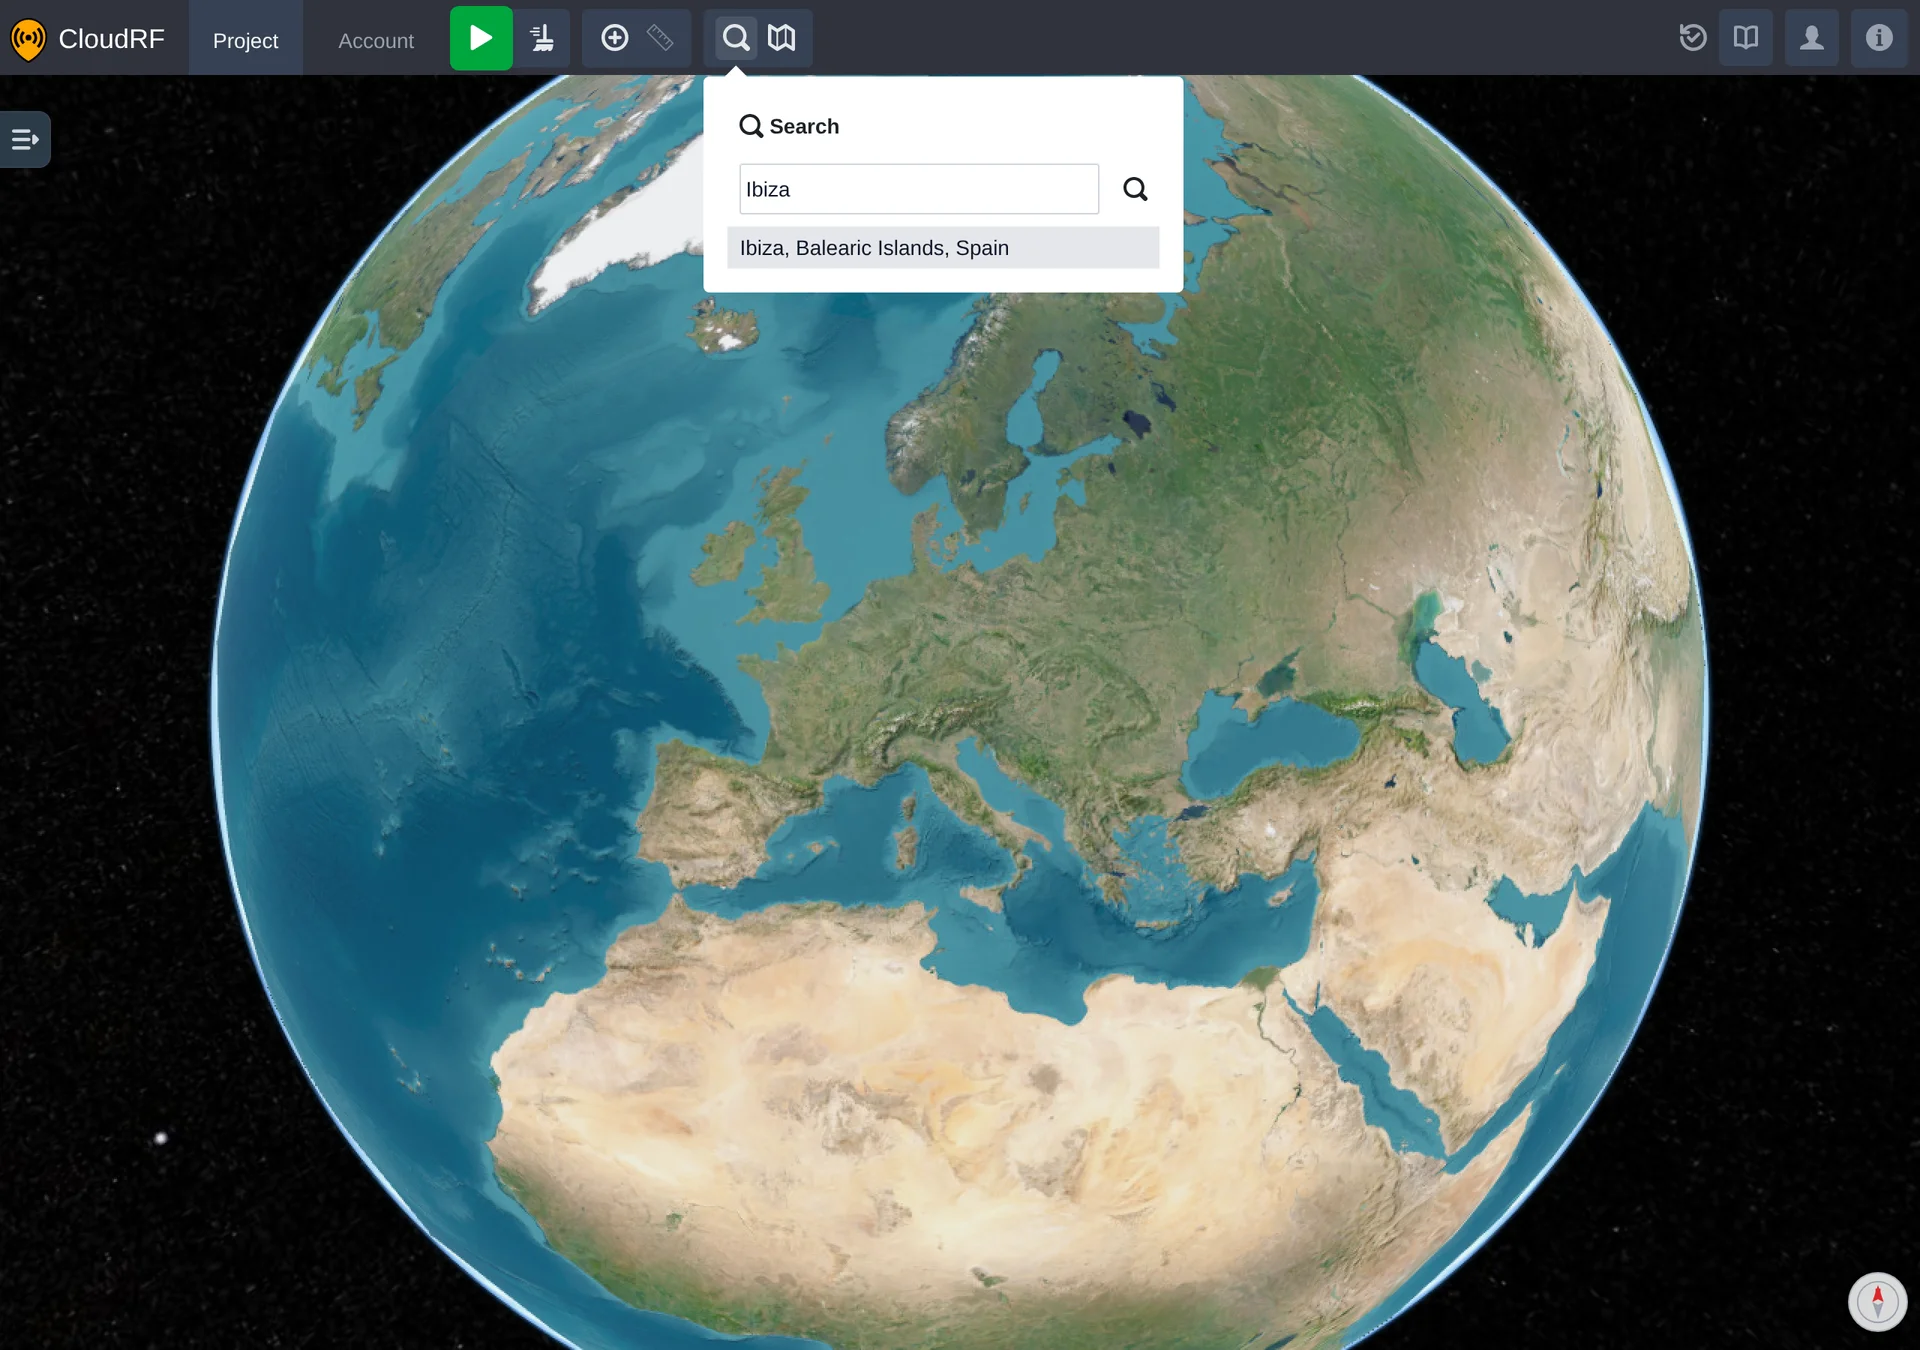
Search the map for Ibiza to bring it into view.
Open the left sidebar - the templates you imported sit in a Templates panel underneath the network list.
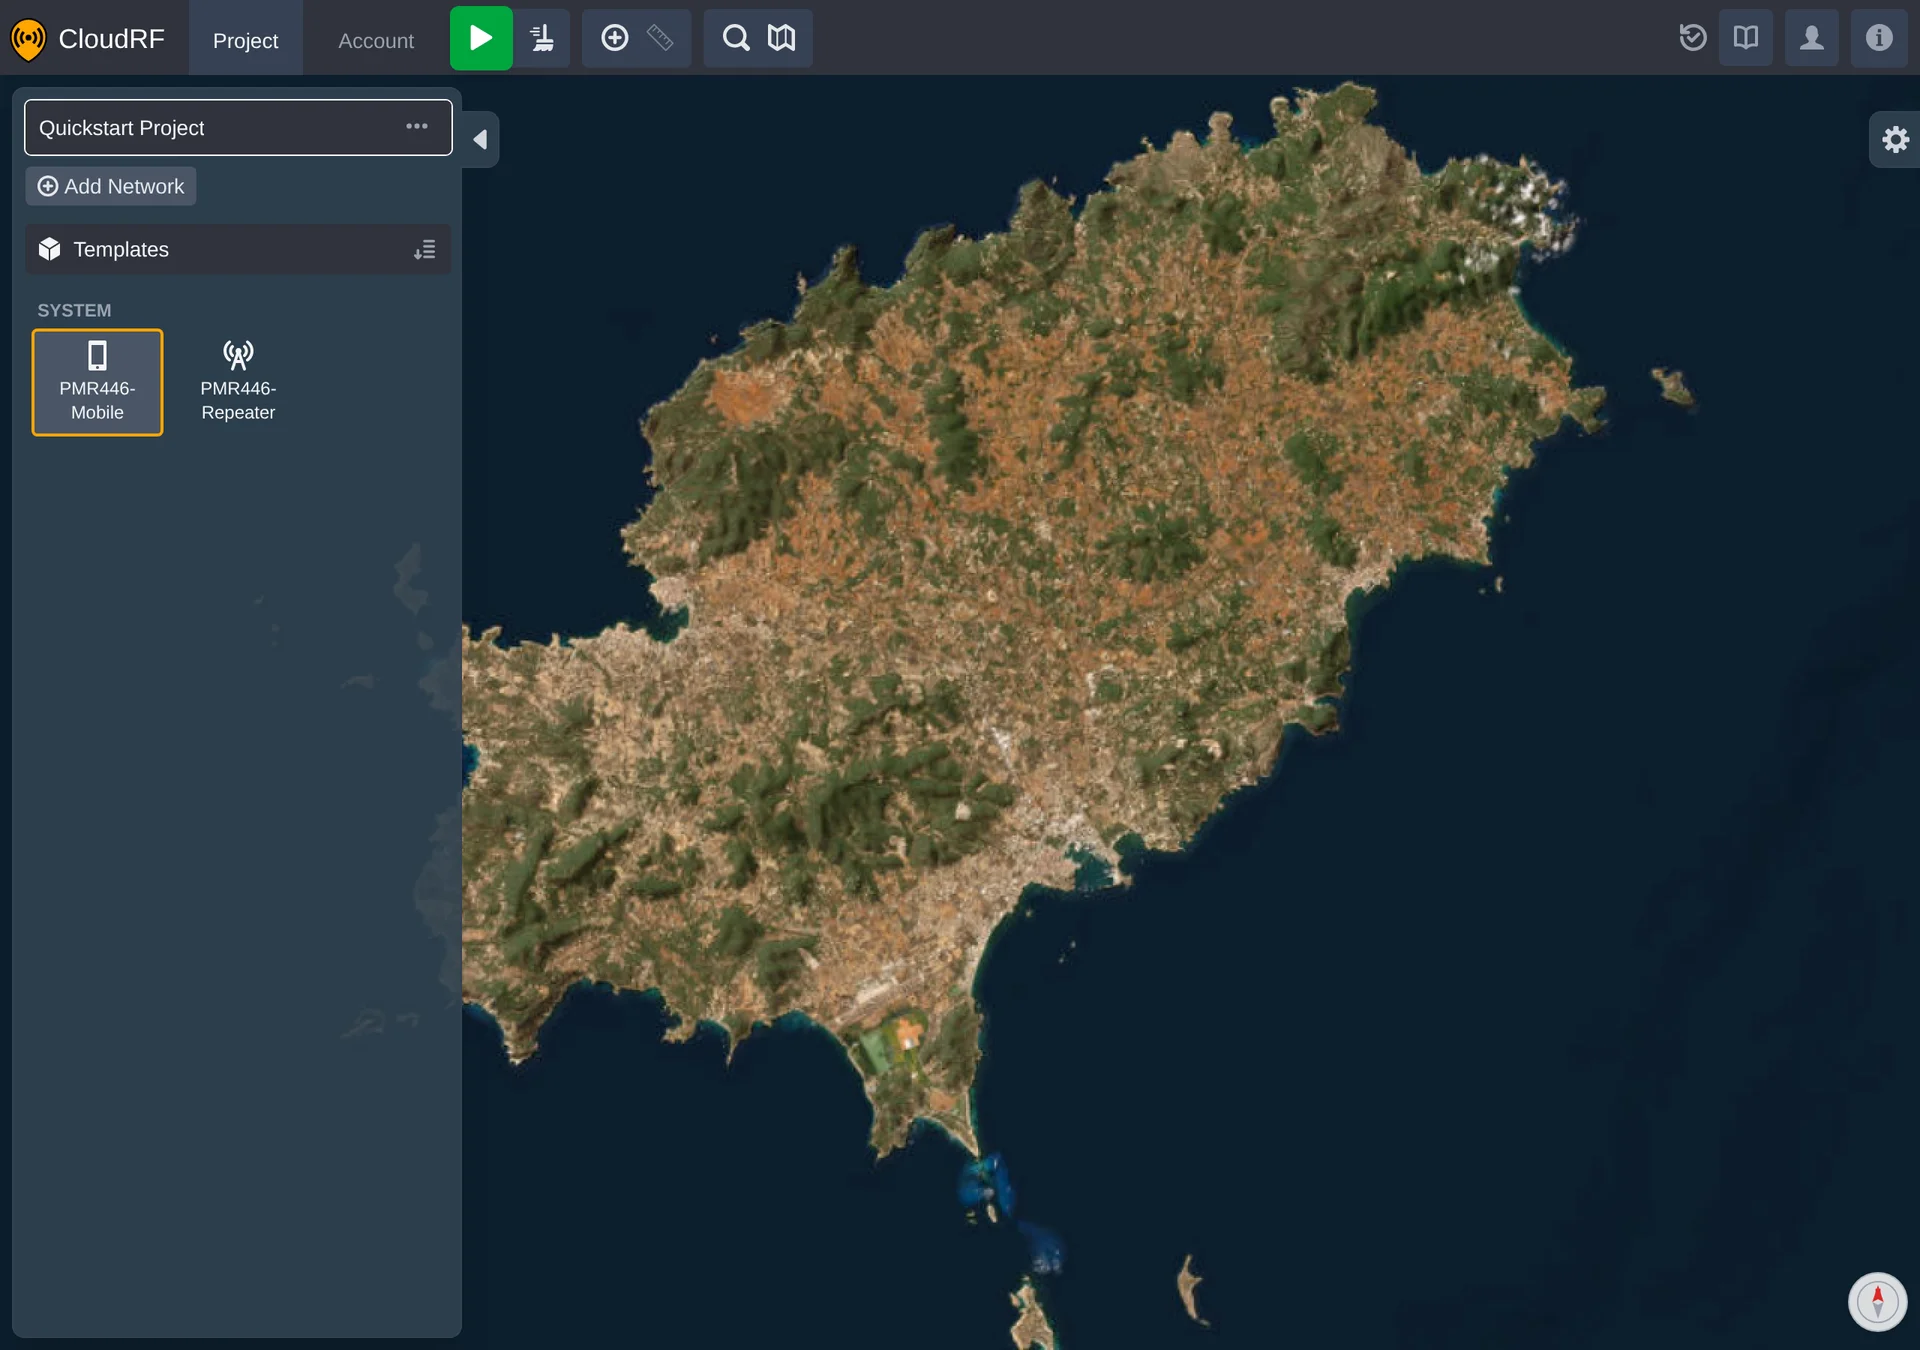
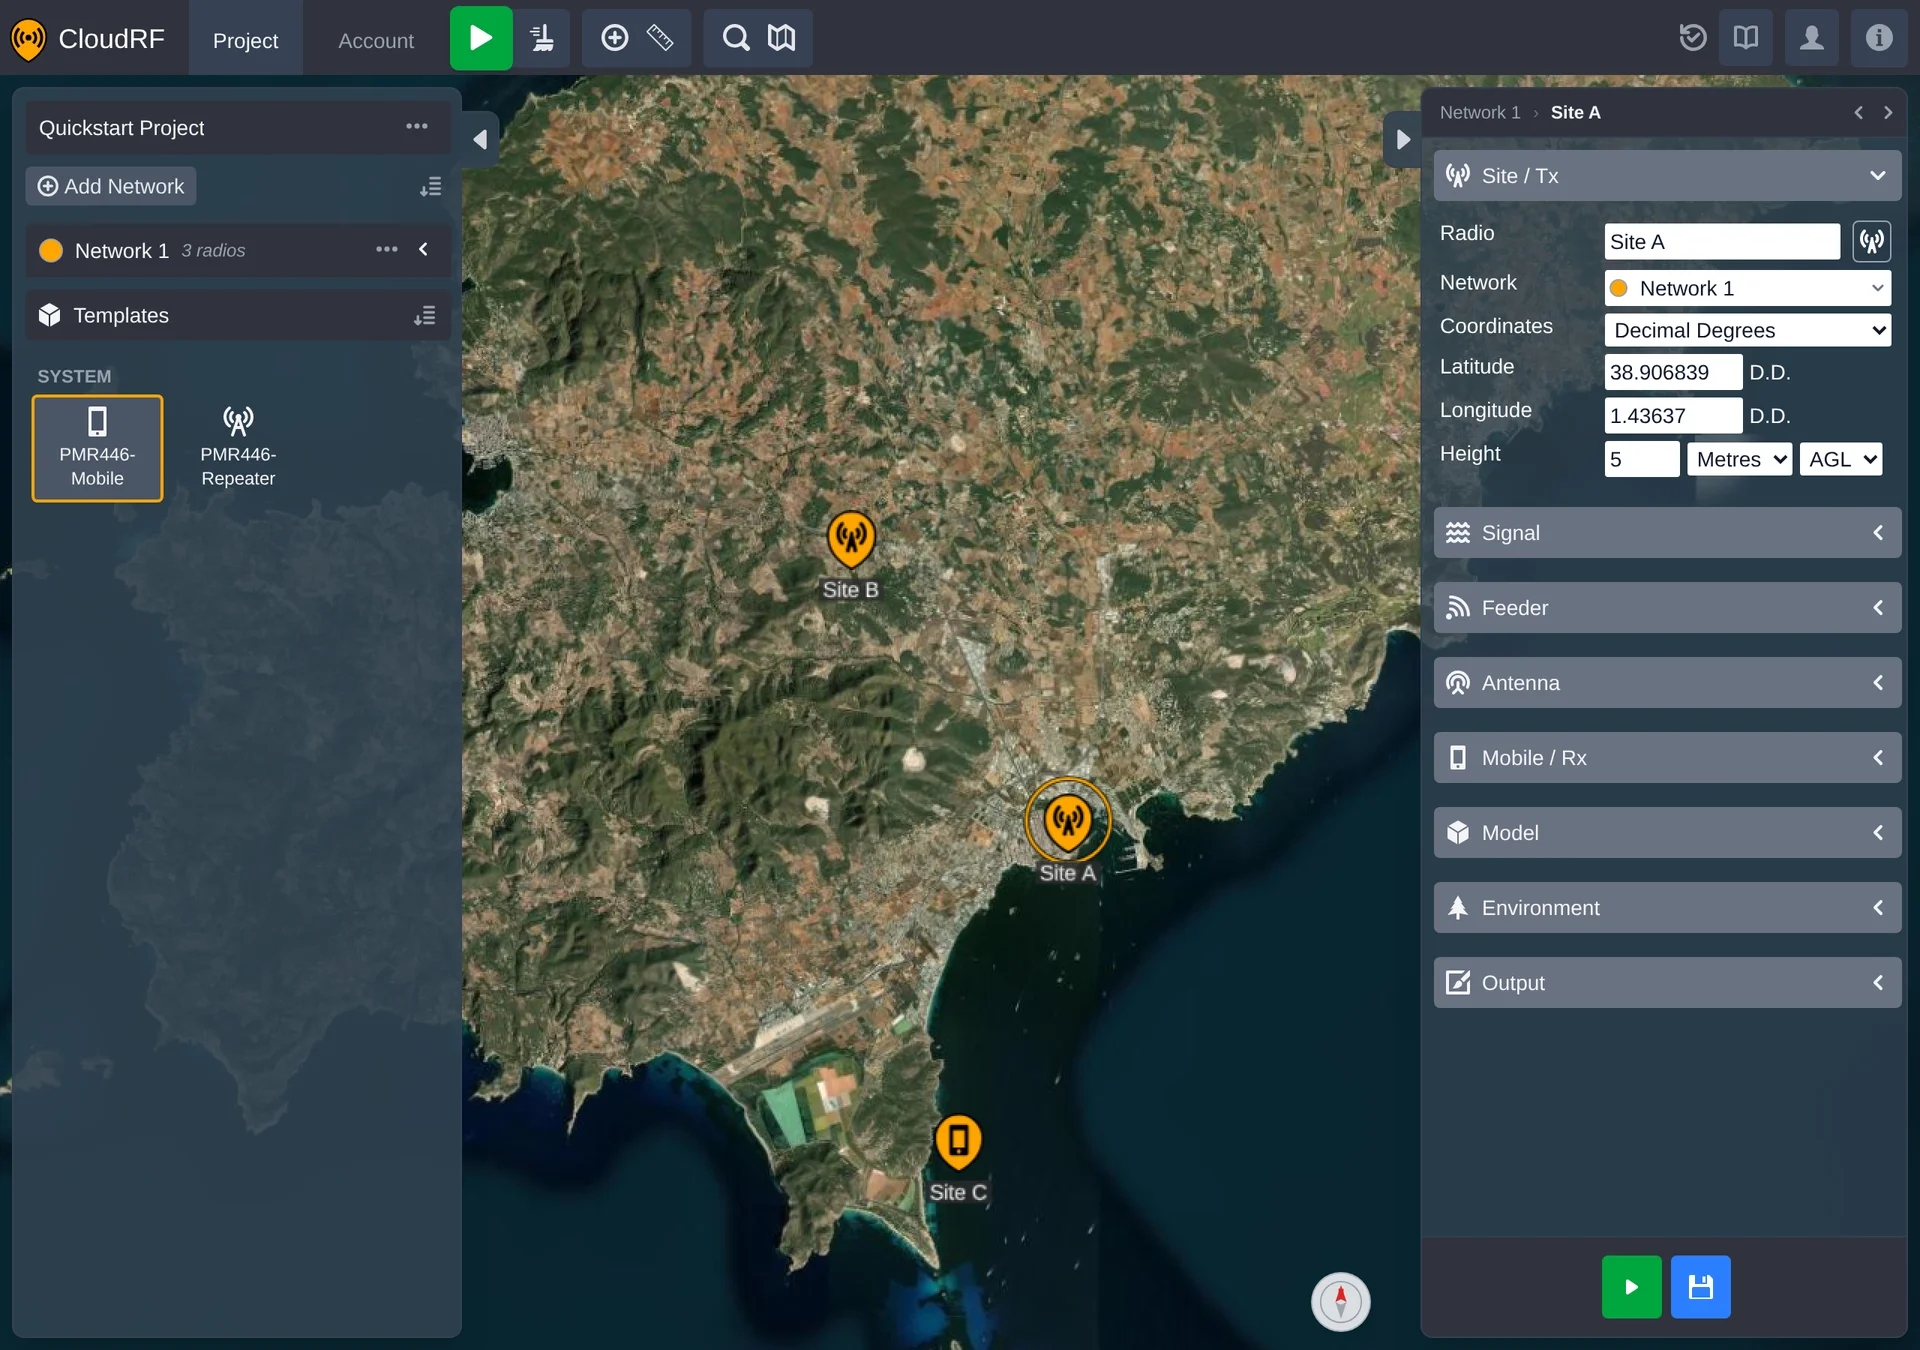
Drag a template from the panel onto the map to drop a radio using that template's settings. Repeat for a few positions around the island.
The template settings are copied on to the radio, but you are then free to change a radio's settings (including its name) using the right sidebar.
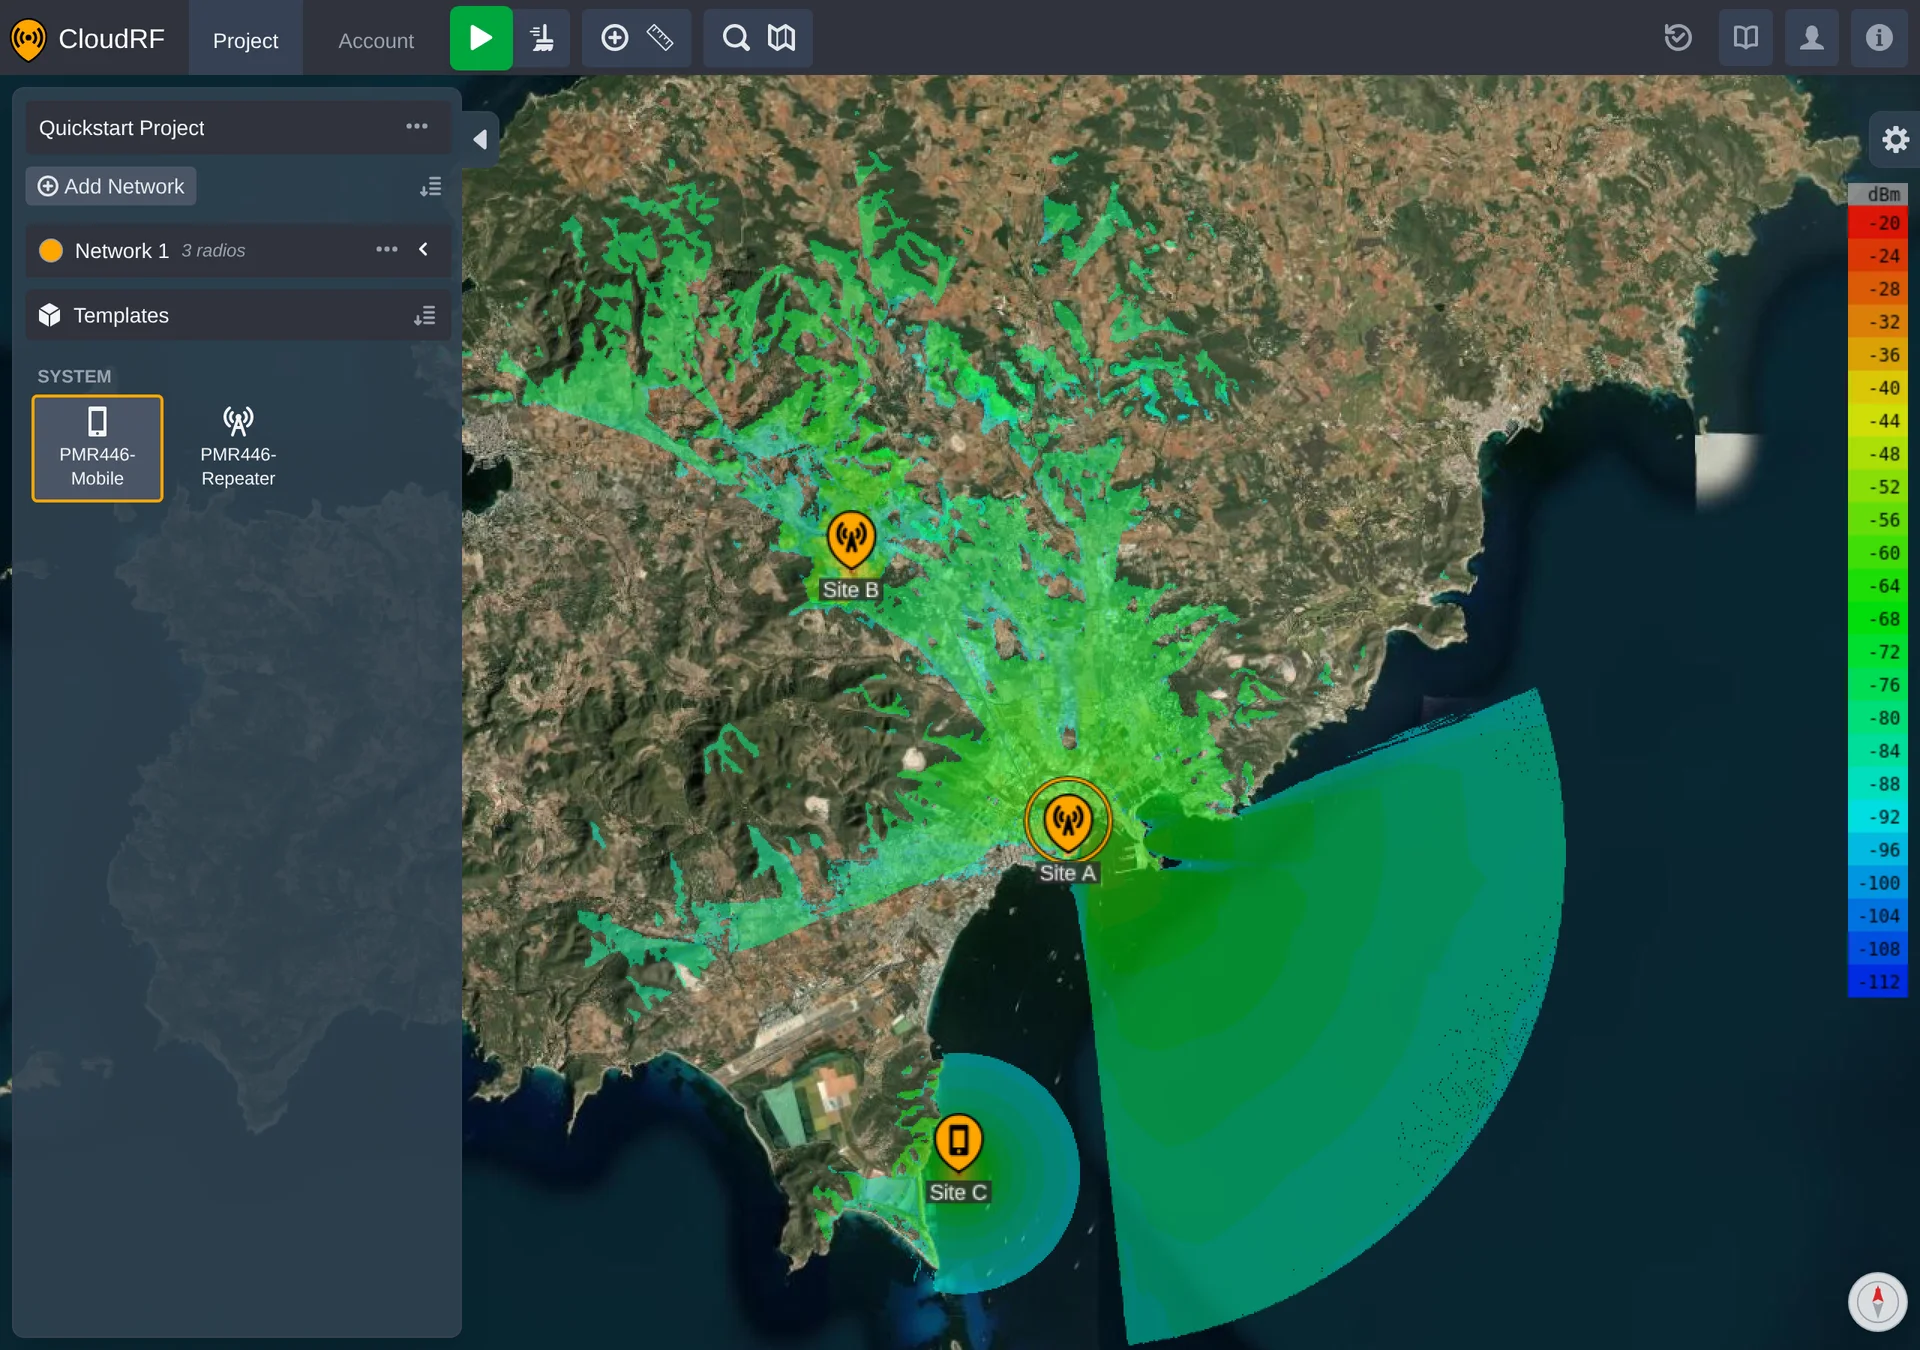
Press Calculate (the green button, or the Space key). PNUT works out coverage for every radio and then displays the result as a layer on the map.
4. Add a Separate Network
On the left sidebar you can see Network 1 holding the radios you've placed so far.
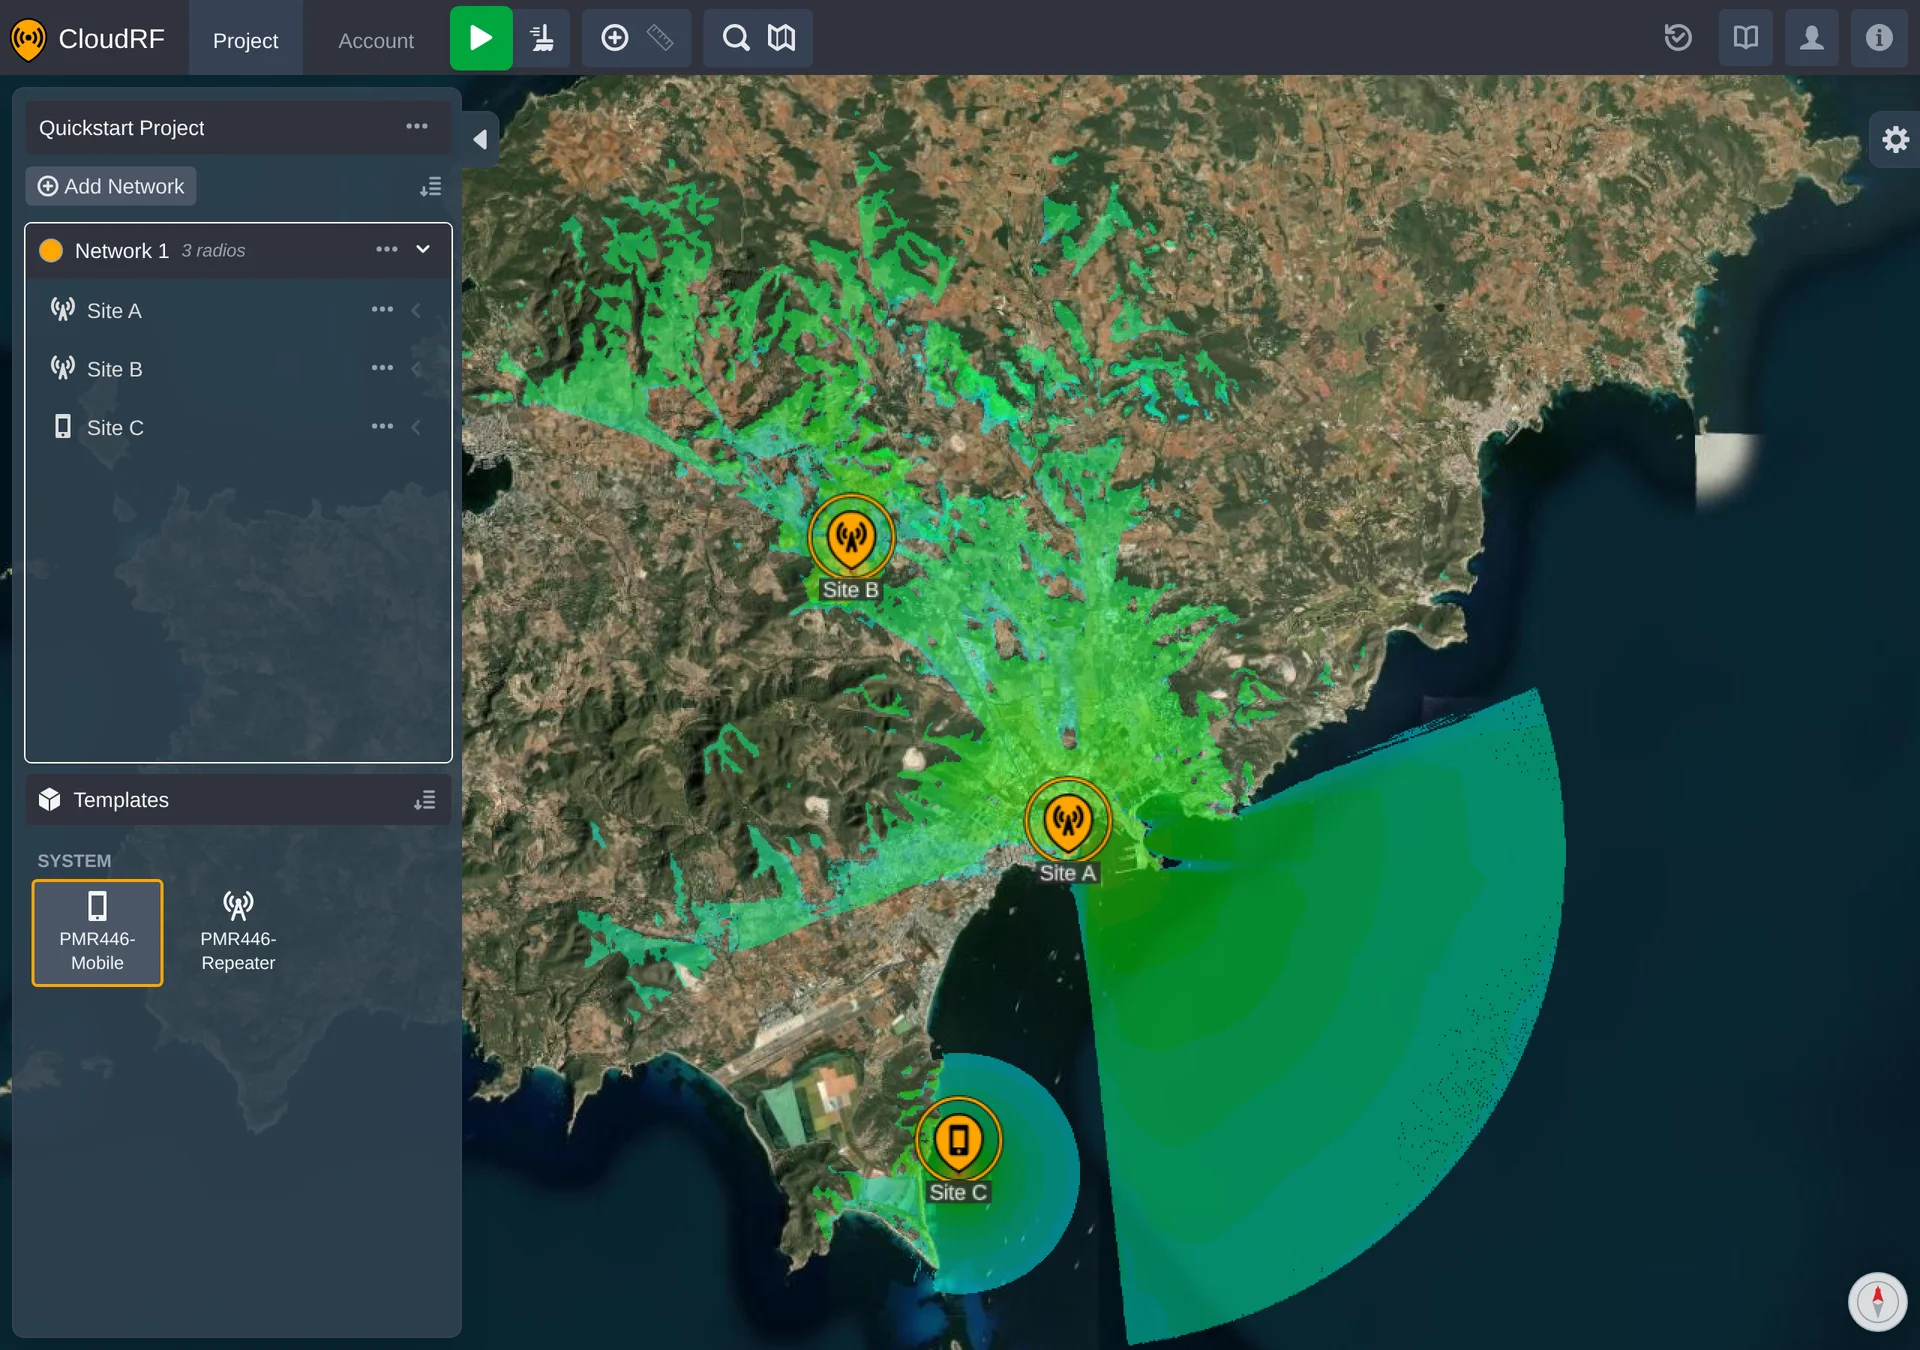
Click Add network to create a second, empty network alongside it.
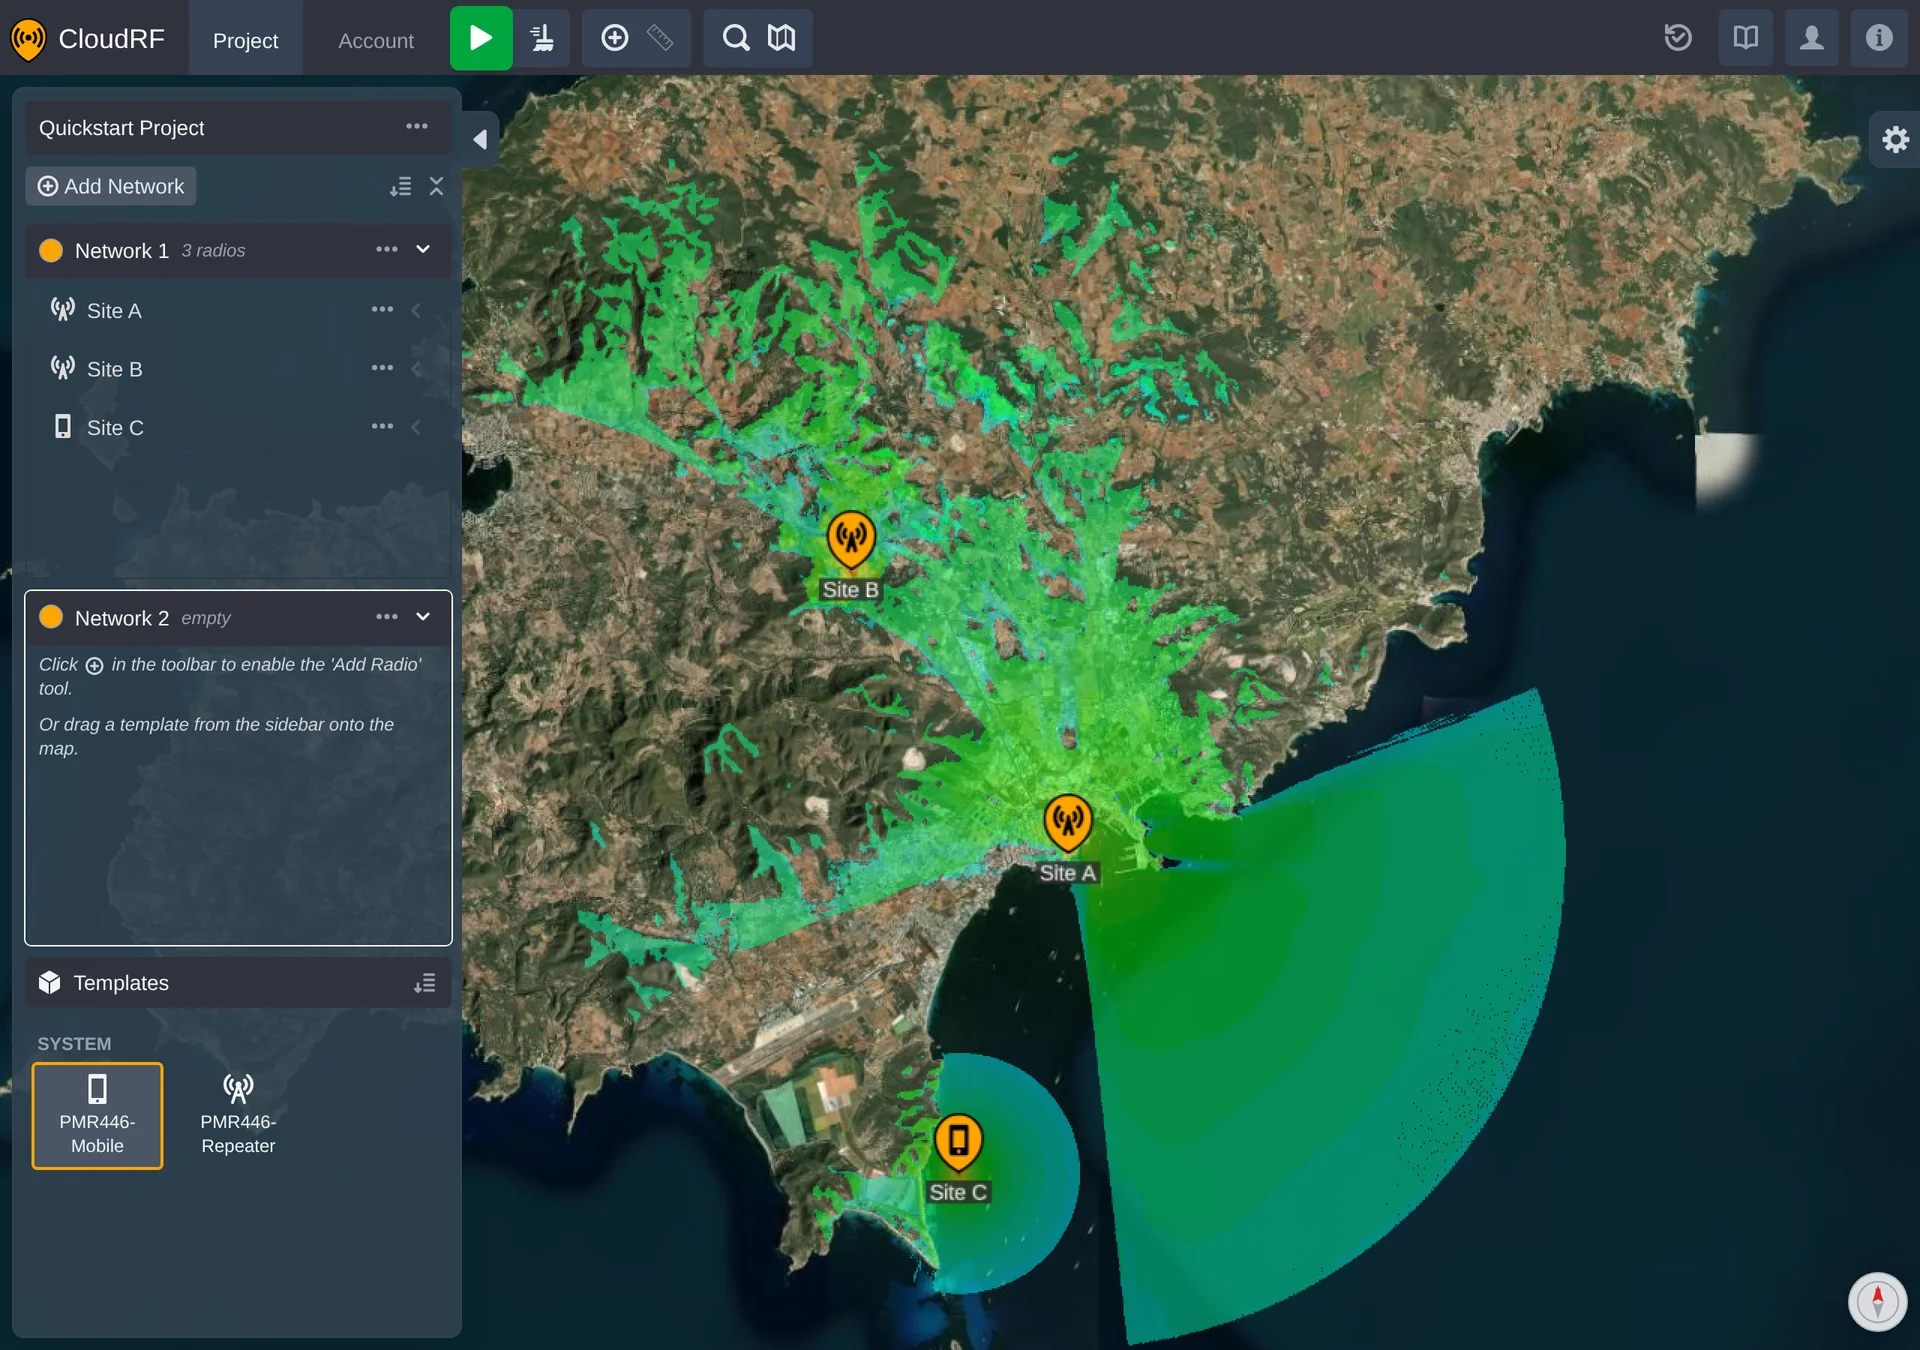
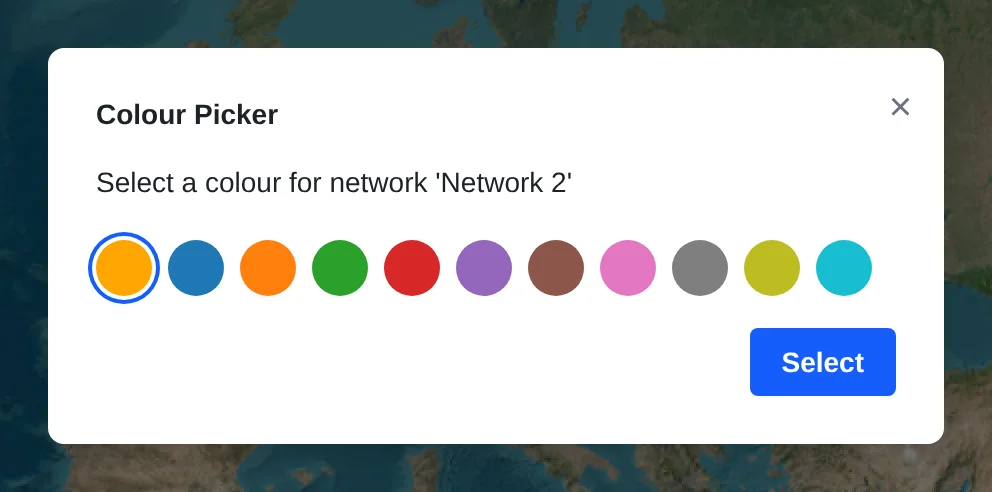
Colour the two networks differently so they're easy to distinguish on the map - open a network's colour dialog and pick a colour for each.
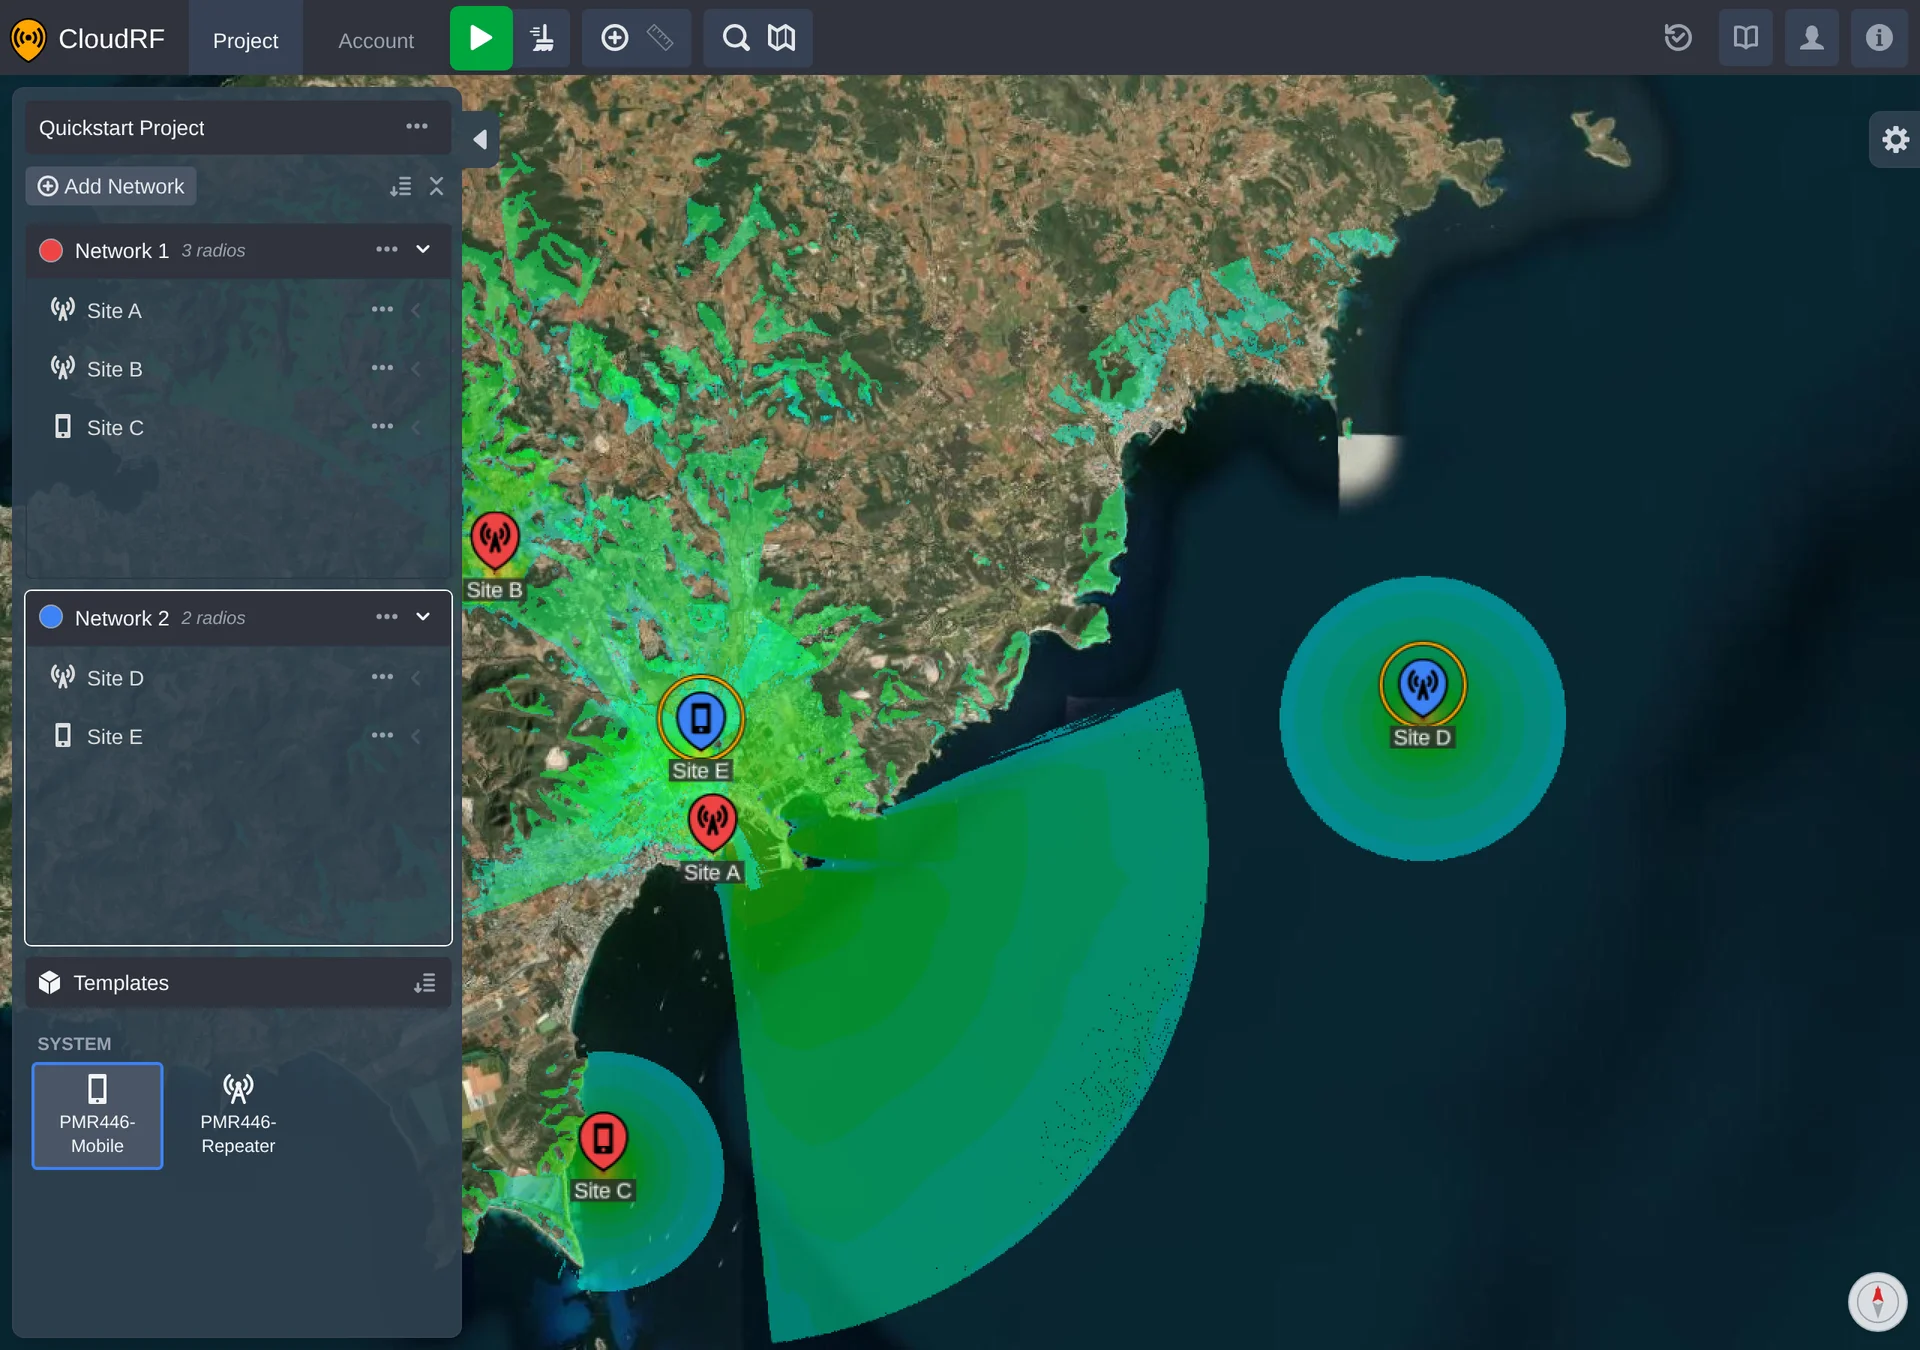
With the new network selected, drag more radios onto the map - they join that network.
From here you can go further: link a network's radios together as mesh links, study individual connections with path profiles, or combine a network's coverage into one merged heatmap.
Where Next
- Core Concepts - the object model behind what you just did.
- Networks and Radios - the objects you placed, in full detail.
- Templates and Presets - go deeper on reusing configuration across projects.